Shelving Location Groups
Shelving Location Groups is a menu that allows you to organize shelving locations into groups for filtering. Right now, the only feature that uses shelving location groups filter is the Pull List, but we hope that other areas of Evergreen will use this in the future.
Below is a video tutorial on managing shelving location groups and more instructions are below.
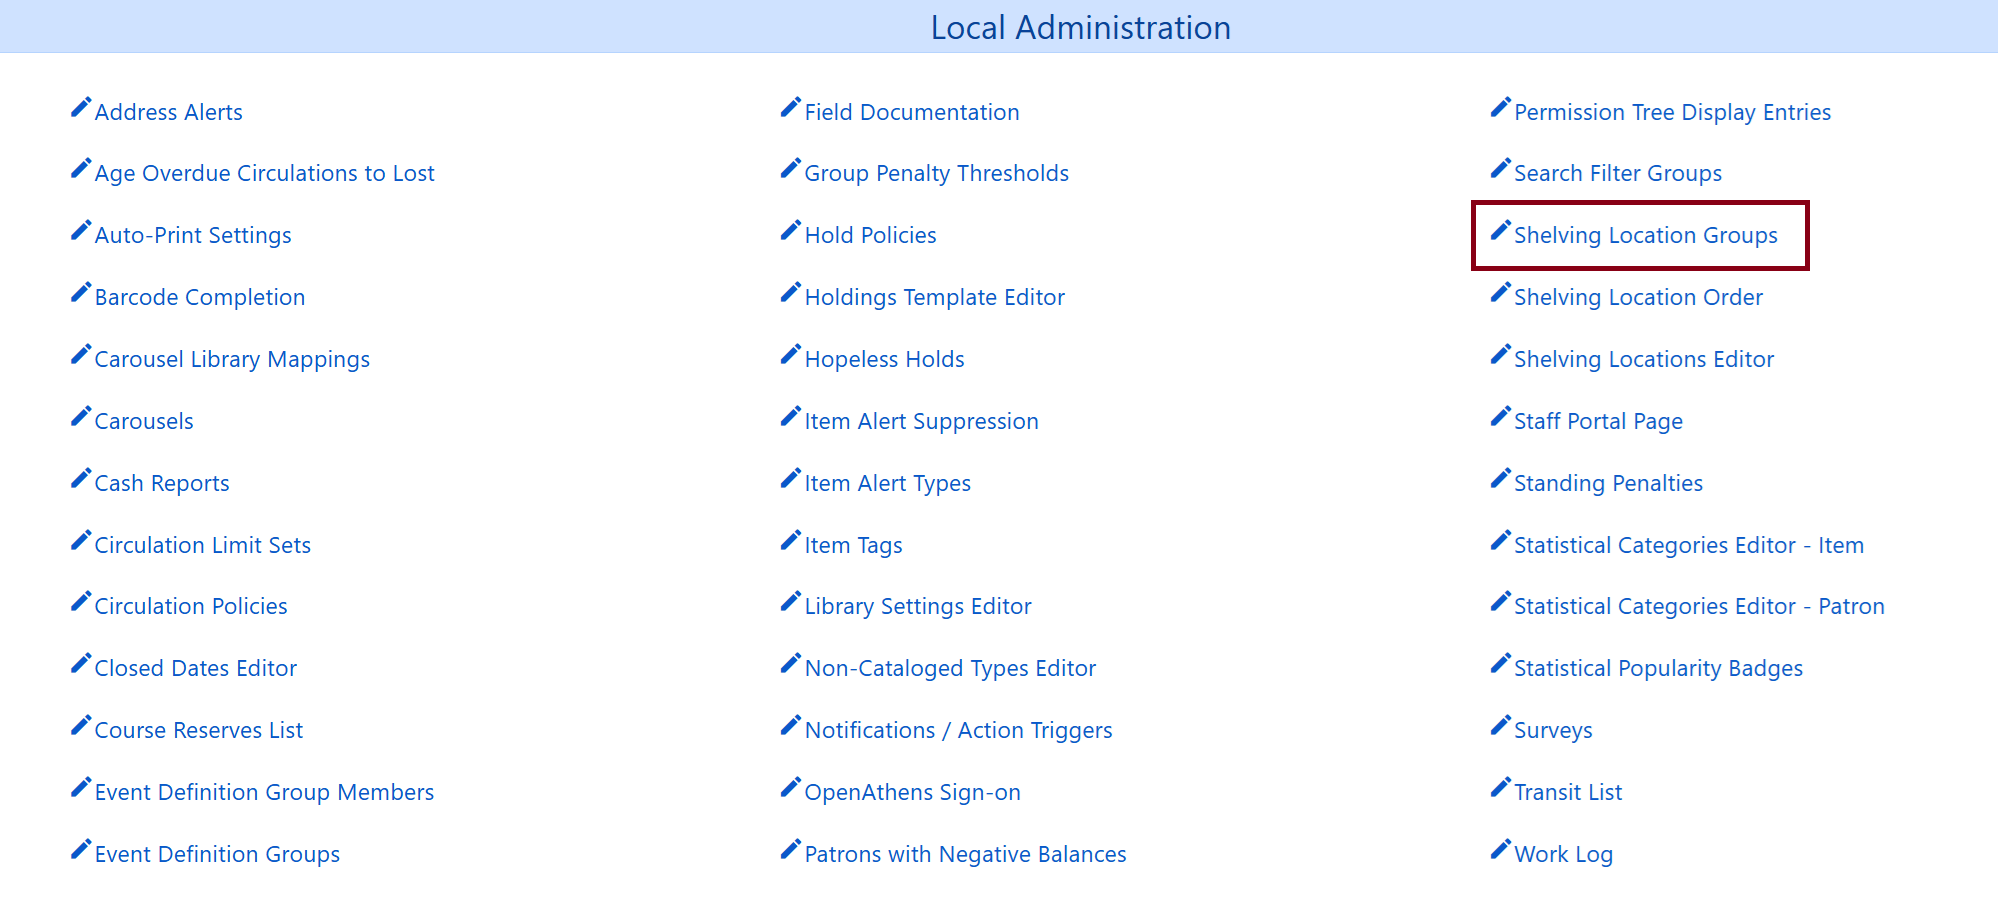
Go to Administration → Local Administration → Shelving Location Groups.
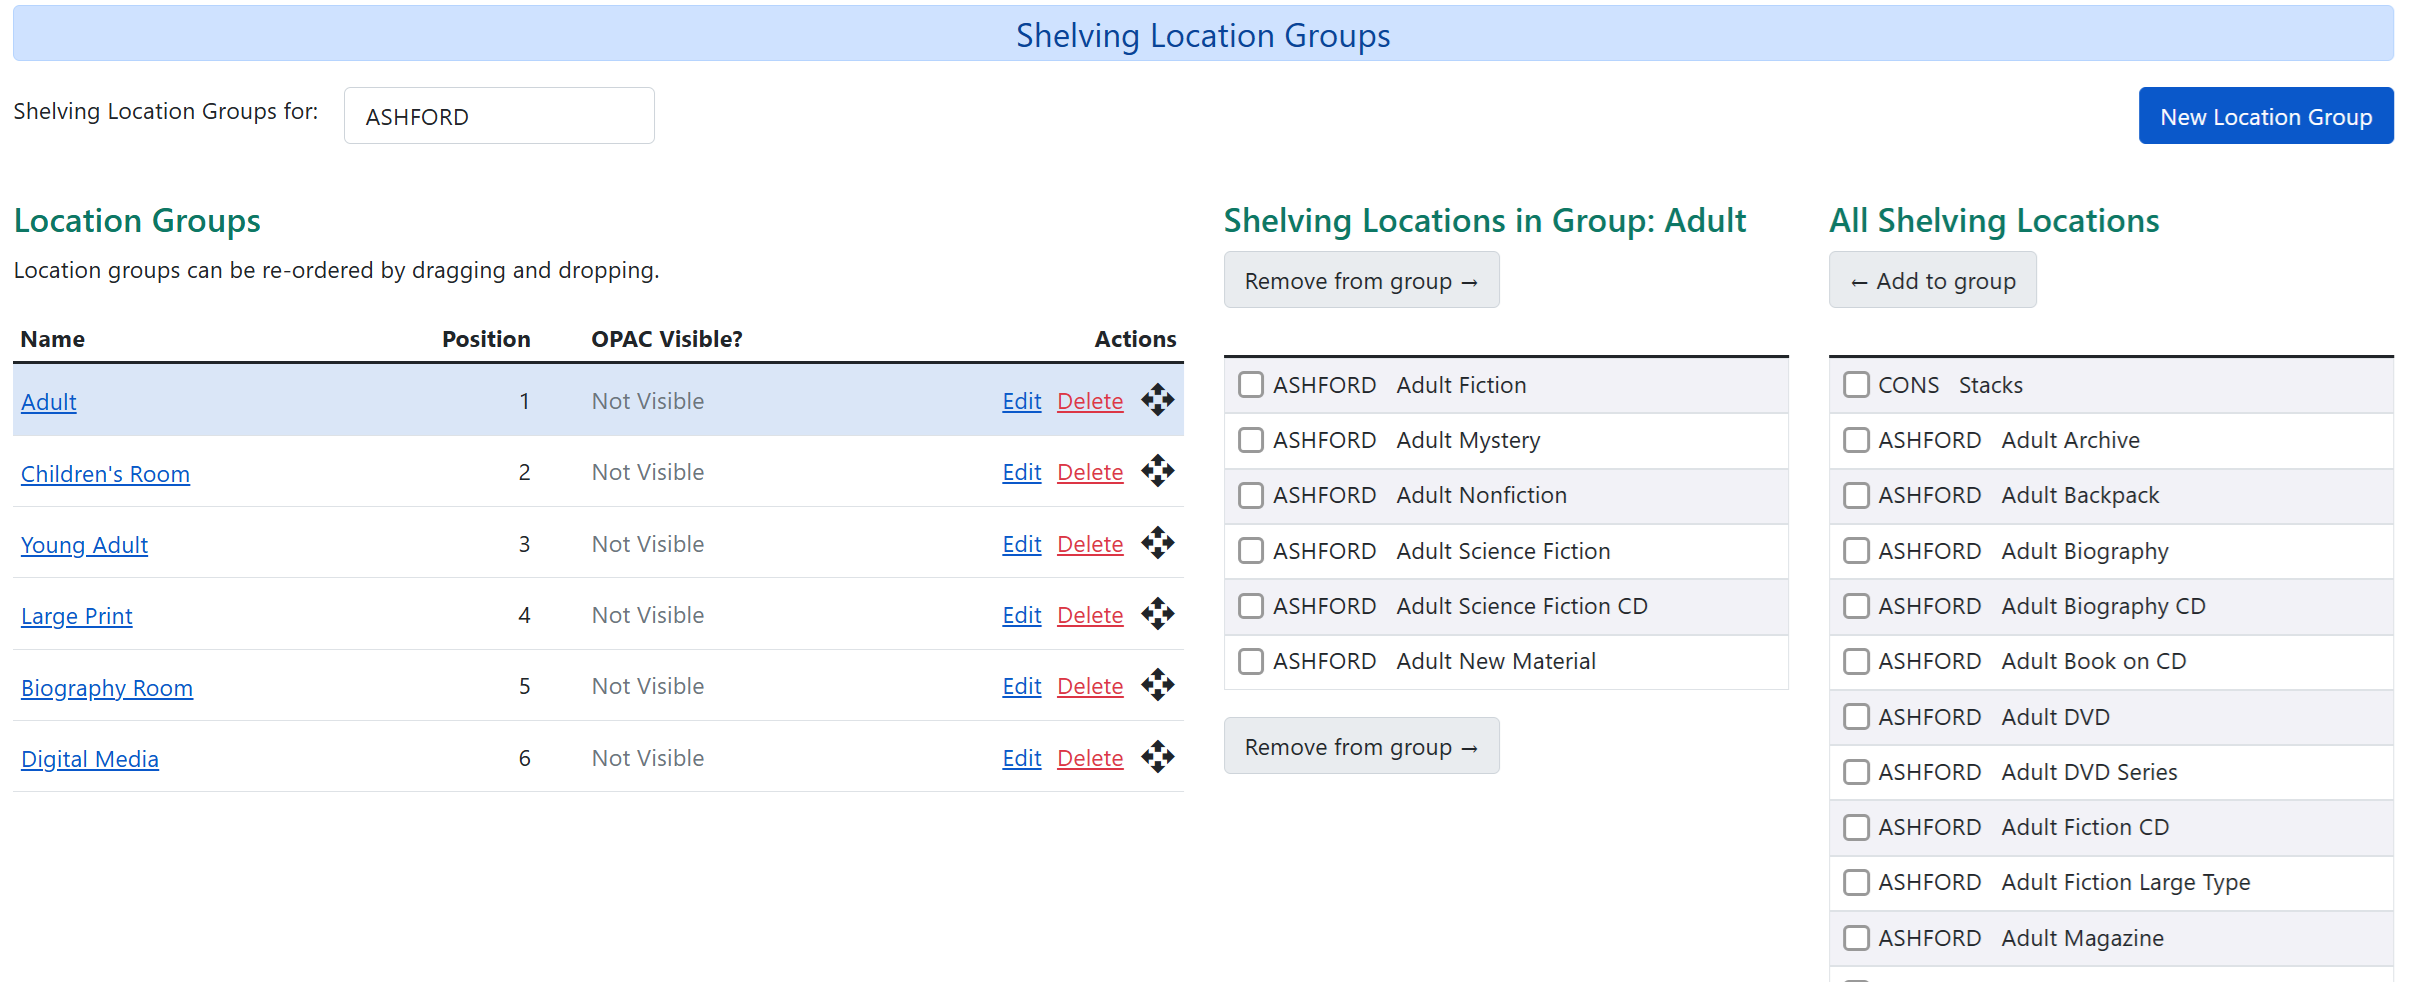
You will be brought to the Shelving Location Groups menu/screen. Make sure that your library is selected under Shelving Location Groups for. If you haven’t created any groups, the menu should be blank.
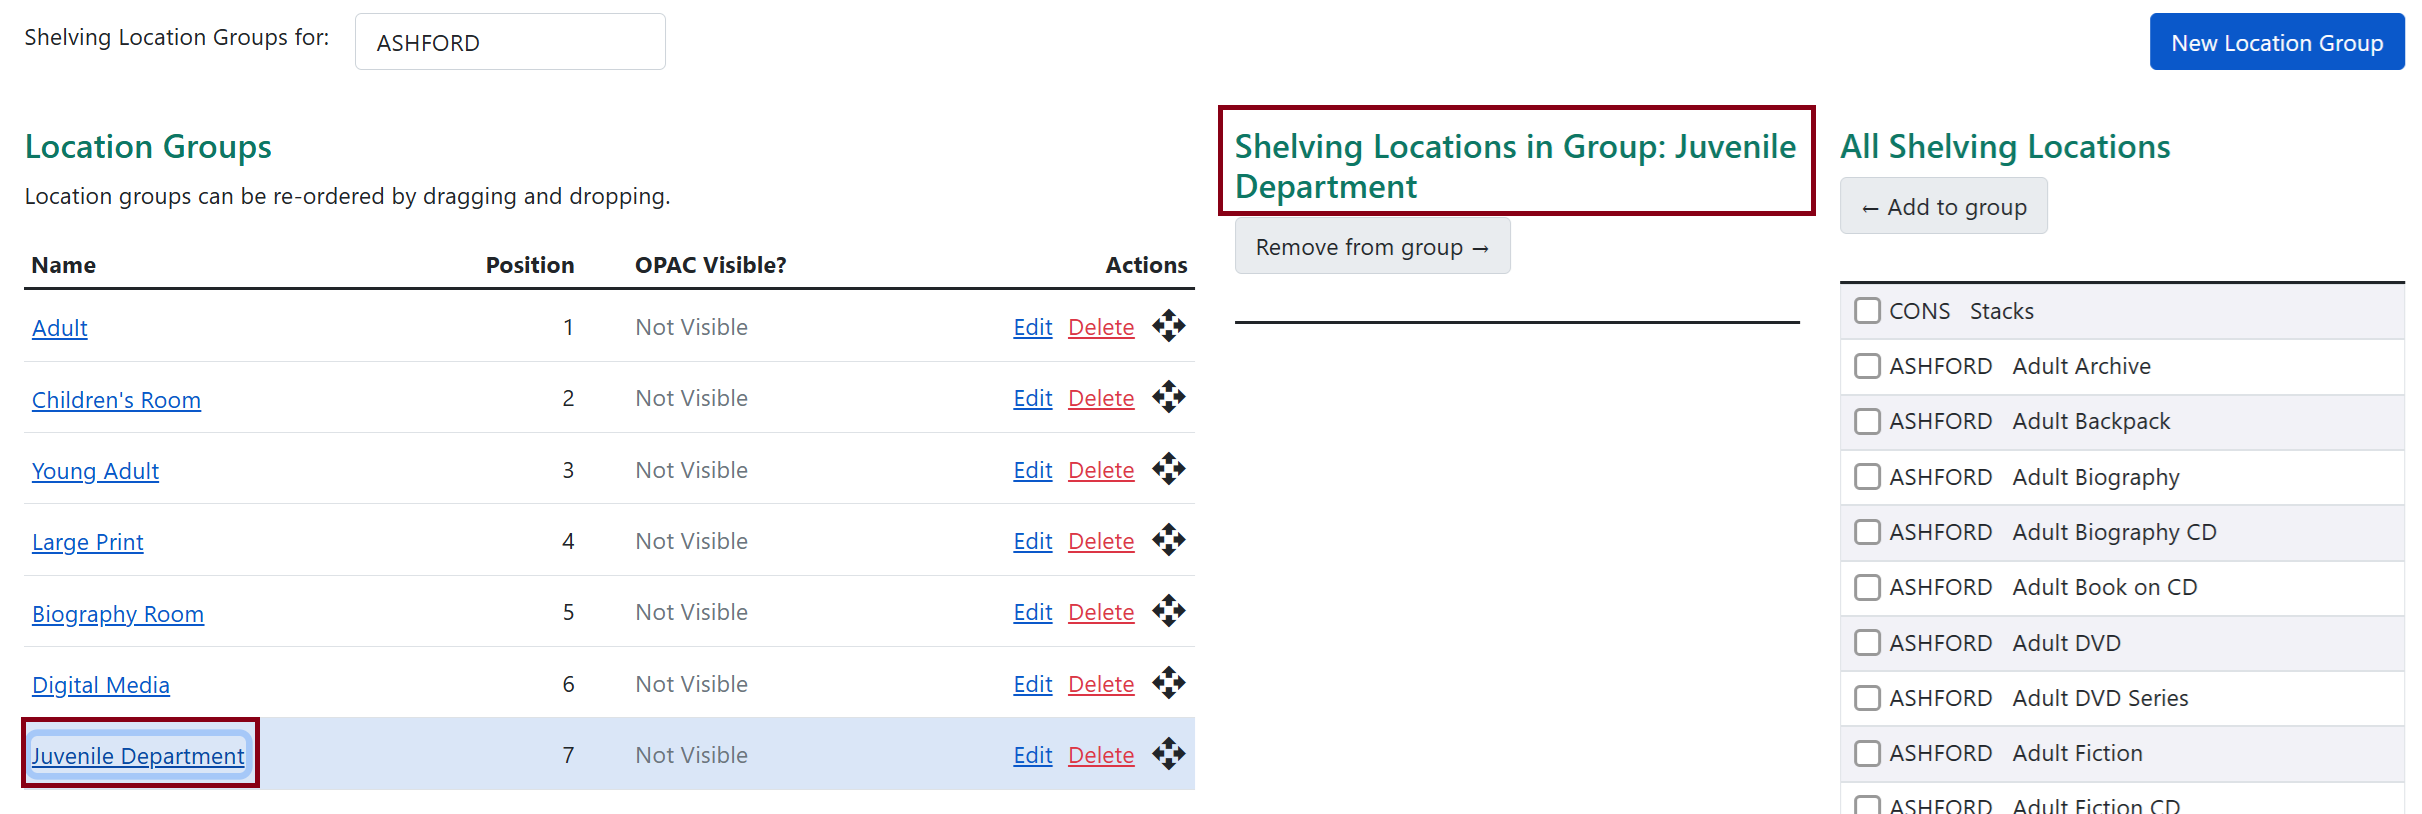
If you have groups already saved, your menu will look similar to this.
| Every staff member account has permissions to edit shelving location groups. Groups are also not workstation specific and can be seen by your library’s staff members and other Bibliomation libraries much like the pull list. Because of this, it may be easier to have certain staff members assigned to the responsibilities of maintaining the groups. Shelving location groups will also be visible as available filters for the pull list by all of your library’s staff members. |
Create a New Shelving Location Group
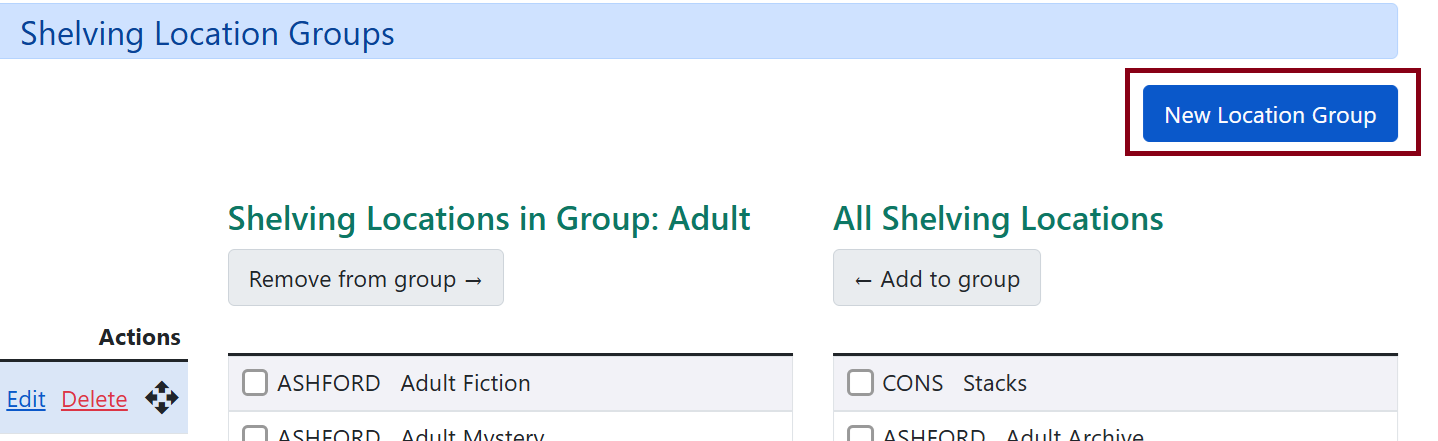
Click on New Location Group on the upper-right hand corner.
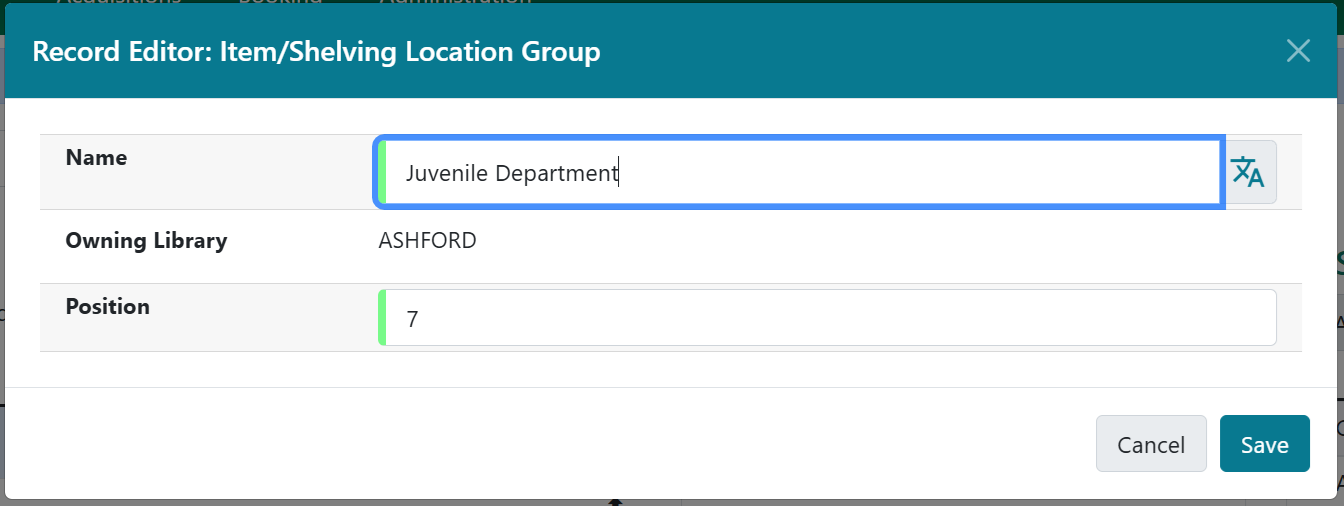
Name your shelving location group.
This will appear on the left side of the menu. If this is the only group you have created, the menu will select it at a default. If you have others, it’ll select the top group in order as the default.
If you don’t see your shelving location group name next to Shelving Locations in Group, then click on the name in the left column for it to show up.
In this example, we are working with the Juvenile Department group that was just created so that will show up as Shelving Locations in Group: Juvenile Department in the middle column. Because we don’t have any shelving locations selected yet, it’ll be empty.
image::shelving-location-groups/
| You may notice that these shelving location groups are not OPAC visible. This is because if the shelving location group becomes OPAC visible, they will appear in the library selector when searching the OPAC and will make the list longer and harder to read through. We have made them defaulted to OPAC invisible. |
Assigning Shelving Locations to a New Group
Following the above section, we have selected an empty and new shelving location group. Now we will assign shelving locations to that group.
In the right column, select all the shelving location groups you would like to add manually by the checkmark boxes.
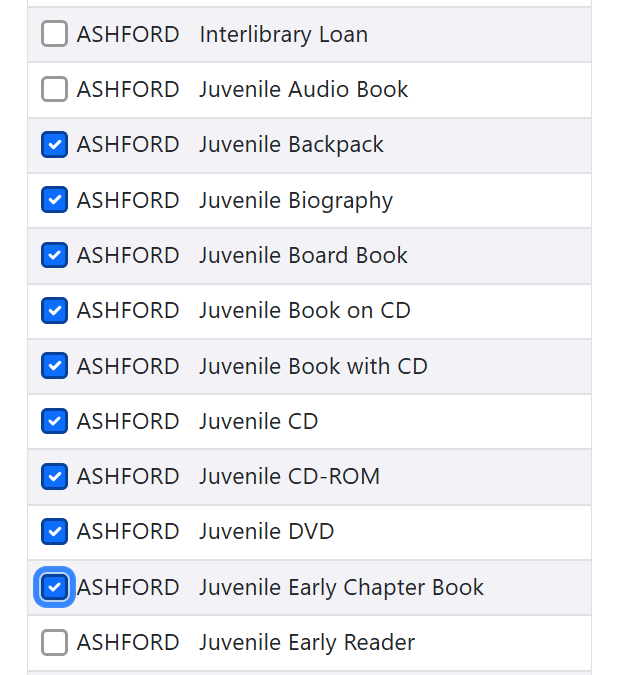
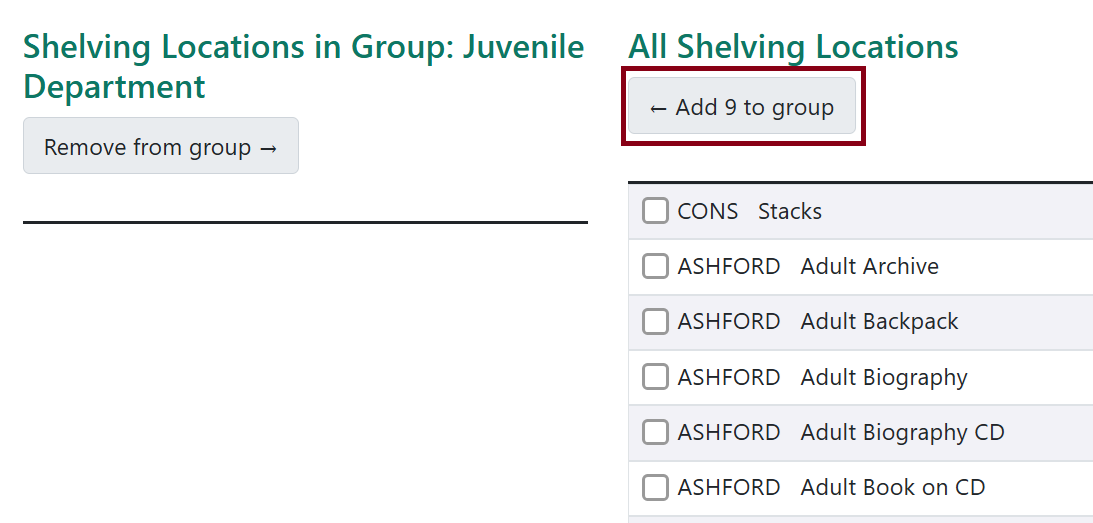
These are just a few examples. When selected, notice that the number in the Add to Group button at the top changes to reflect the number of shelving locations selected. Once all shelving locations are checked off, click on the button. Our example will show Add (9) to Group.
When added, the middle column will display all the selected shelving locations.
Assigning More Shelving Locations to an Existing Group
Select the group you want to work with in the left column by clicking on the title. The middle column will display all your shelving locations. Go to the right column and check off more shelving locations you want to add, click on the Add to Group button on top, and these will display in the middle column.
| This will be handy when Bibliomation creates a new shelving location for your library and you would like to have it included into a shelving location group. Bibliomation staff can create new shelving locations, but it is the responsibility of library staff to update their groups as needed if a help desk ticket isn’t submitted. |
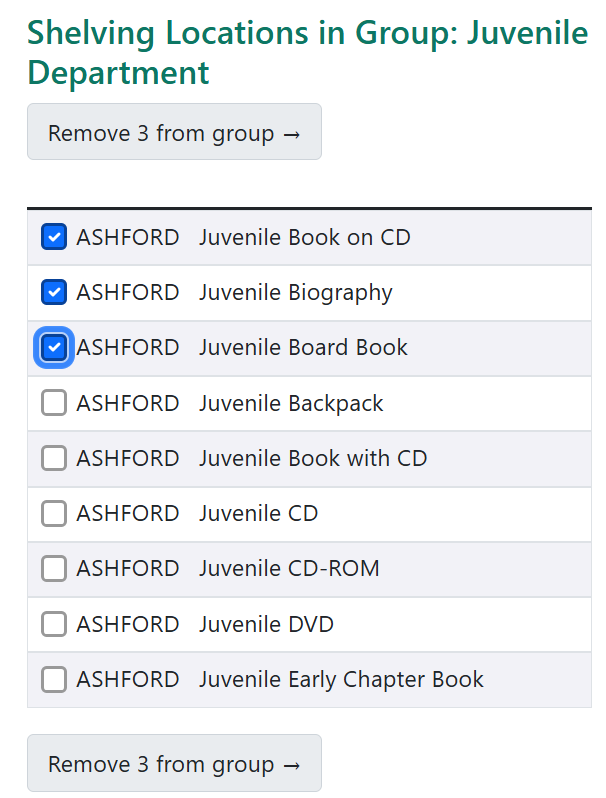
Removing Shelving Locations from Group
After selecting a shelving location group, go to the middle column and check off the shelving locations you want to remove. Then click on the Remove from group button above.
Editing/Deleting a Group

Click on the Edit link next to the group’s name in the left column.
This will bring you back to a form that allows you to change the name. You can also change the Position which reorders the list by changing the numerical value (it’ll order this as 0 being the top, 1 after that, 2 after that, etc.)
To order the list, you can also click and drag the groups within the left column of the menu.
To delete a group, click on the Delete link and confirm in the following prompt.
Shelving Location Groups in the Pull List
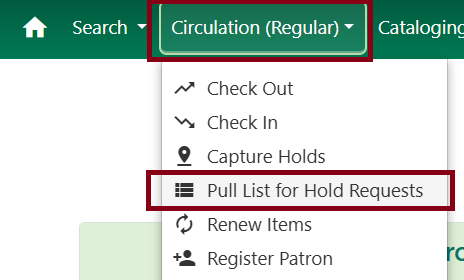
Go to Circulation → Pull List for Hold Requests.
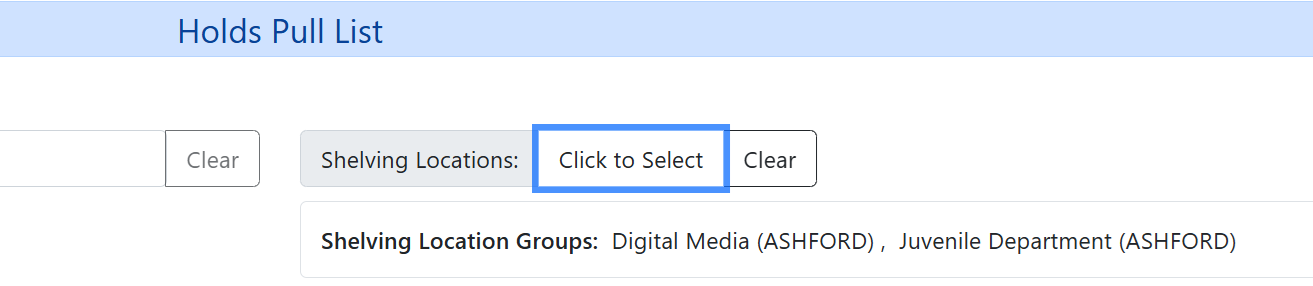
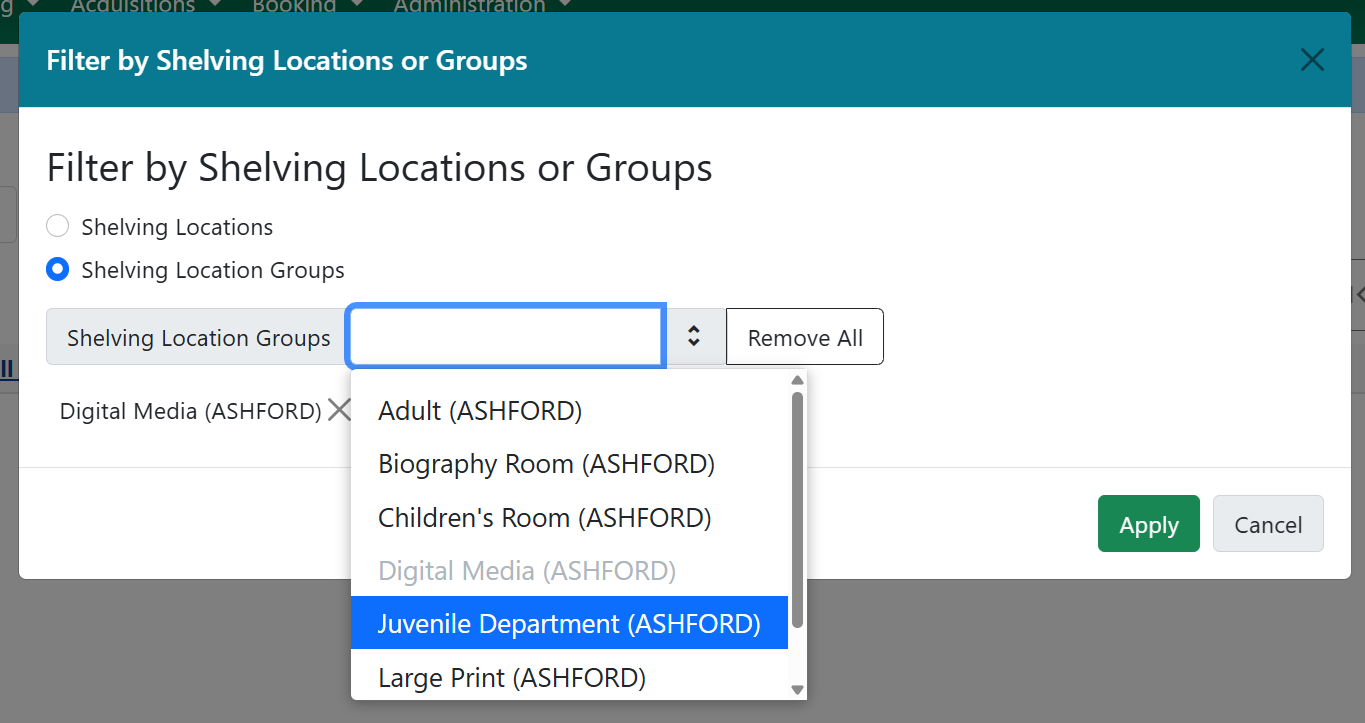
To edit by shelving location groups, select Click to Select next to the Shelving Locations filter. Select Shelving Location Groups and select from the dropdown. You can select more than one.
Click on the X’s to remove certain filters. You can also click on Remove All.
When applied, the shelving location groups will display as such and filter the list. Click on Clear to remove these.