Chrome Printing Setup
This page covers Chrome-specific printing configuration. For general printing information and Hatch setup, see the main printing documentation.
Printing Without Hatch in Chrome
Configuring Chrome Print Settings
-
On any web page, click the menu (three dots) in the top right corner of the window and choose Print. You can also use the keyboard shortcut Ctrl+P.
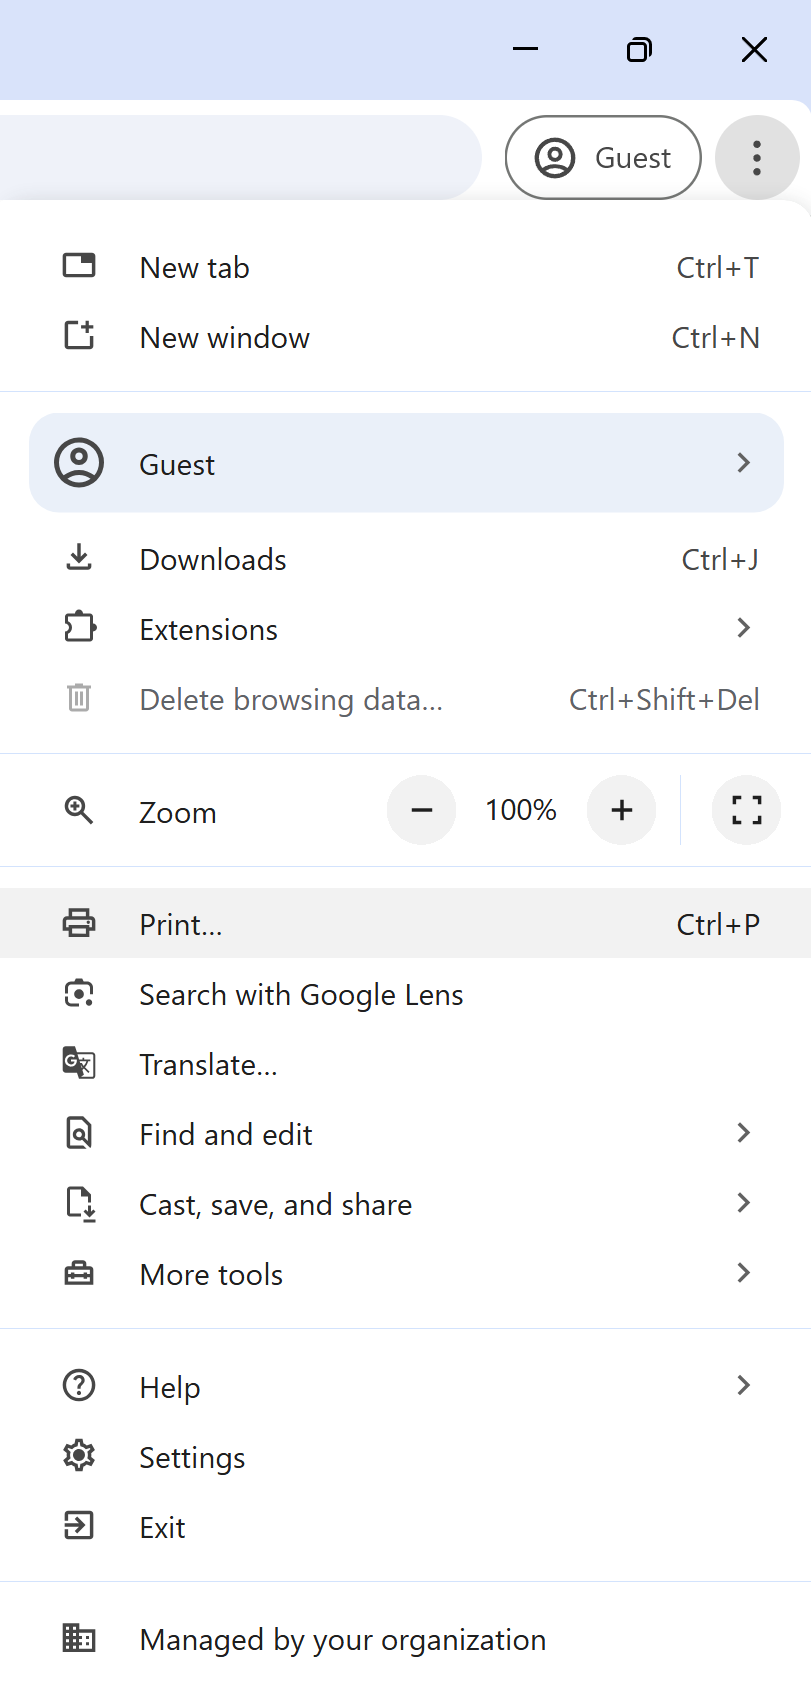 Figure 1. Chrome Menu with Print Option
 -
Make sure your receipt printer is selected as the Destination. If it isn’t, click Change and select it from the list.
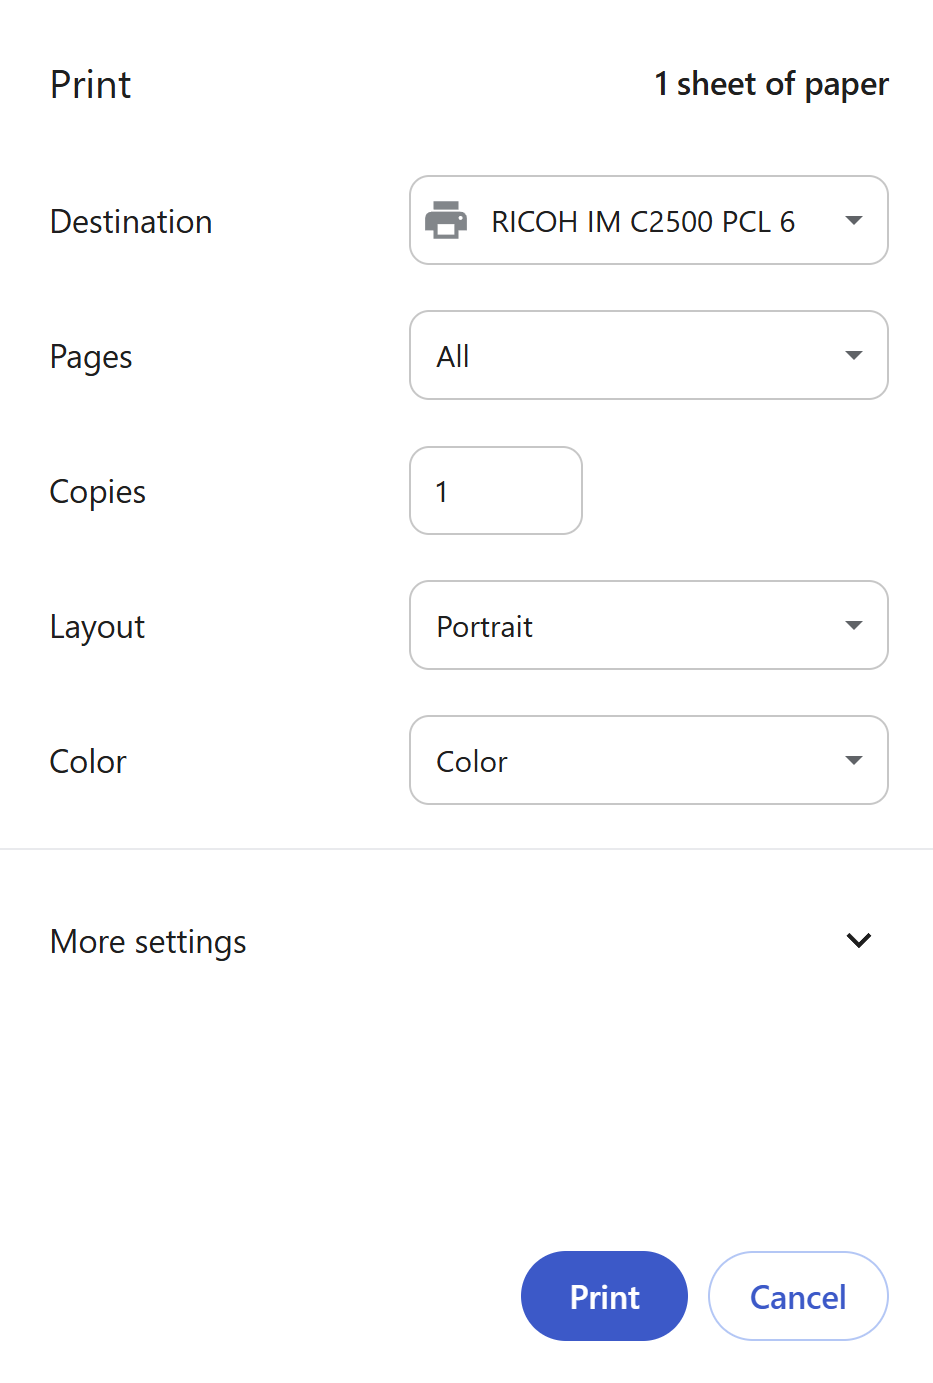 Figure 2. Chrome Print Dialog with Destination Options
 -
Click More settings.
-
Configure the following settings:
-
Set Margins to "Minimum"
-
Set Scale to "Default" or "100"
-
Uncheck Headers and Footers
 Figure 3. More Settings Option in Chrome Print Dialog
-
-
Click Cancel to close the dialog. Your printer settings will be saved for your next print job.
Installing Hatch Extension for Chrome
To install the Hatch extension for Chrome:
-
Install the "Hatch Native Messenger" add-on from the Chrome Web Store:
-
Search for "Hatch Native Messenger" in the Chrome Web Store, or
-
Click Add to Chrome
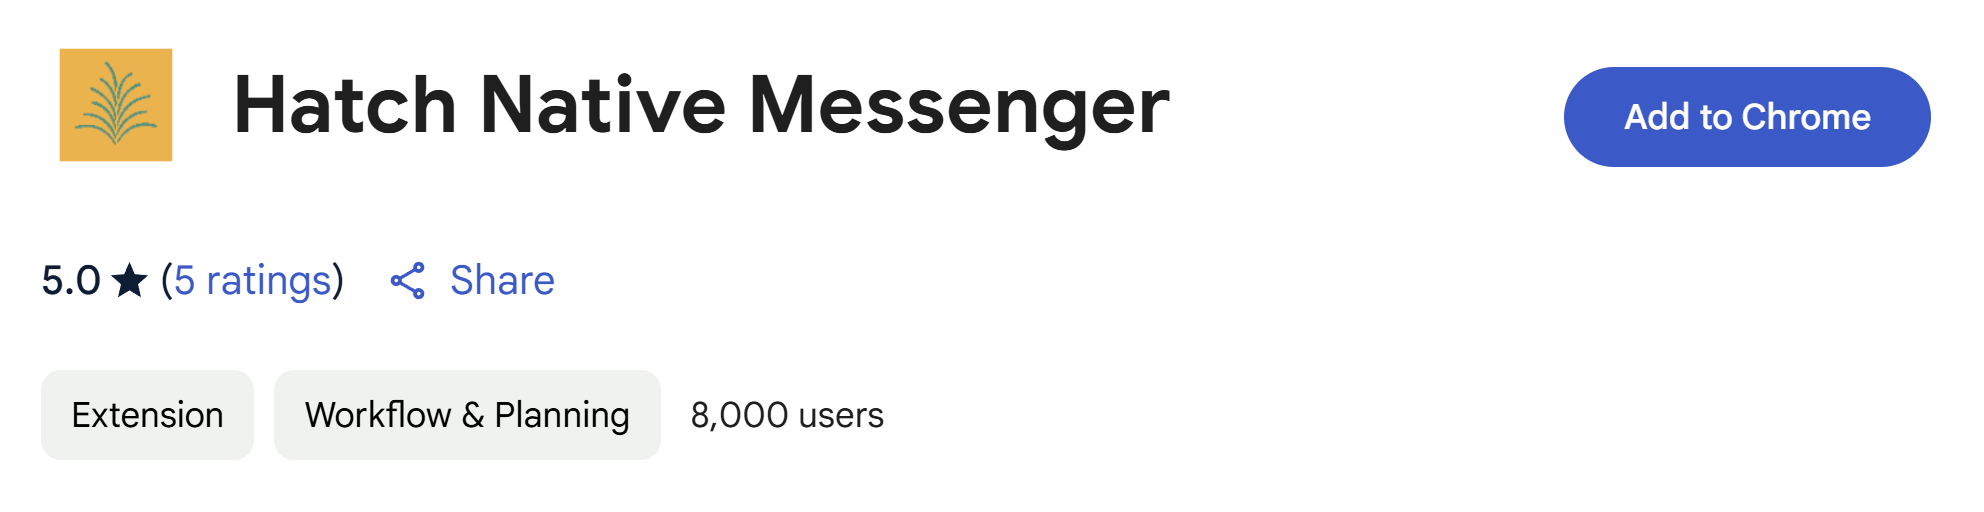 Figure 4. Adding Hatch Extension to Chrome
 -
Click Add extension in the confirmation dialog
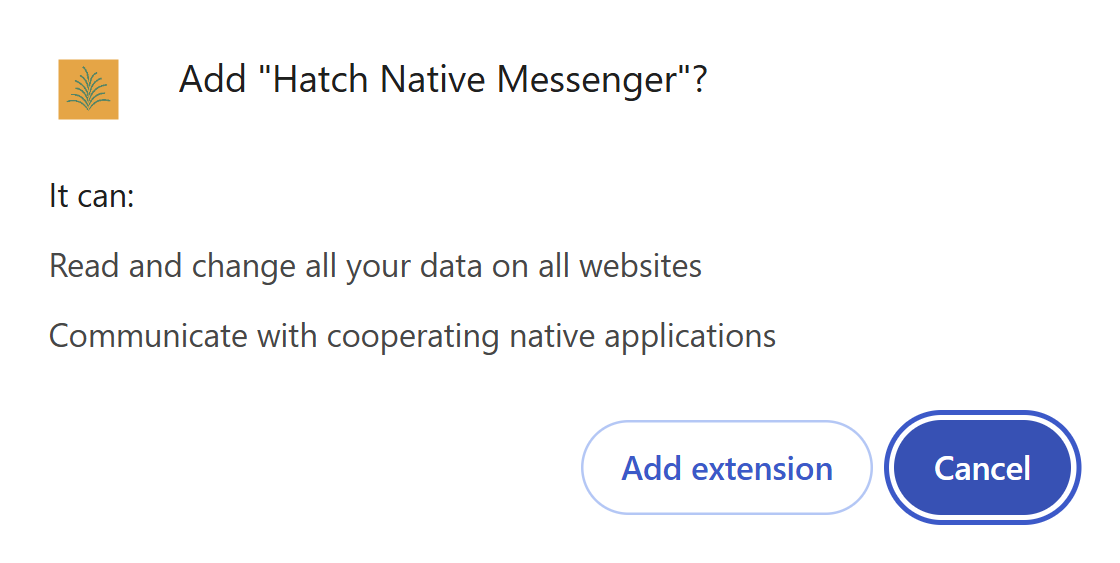 Figure 5. Chrome Extension Confirmation Dialog
 Figure 6. Hatch Success Message in Chrome
-
For the rest of the Hatch configuration process, continue with the Configuring Hatch in Evergreen section of the main printing documentation.