Configuring Workstation Settings
Overview
Workstation settings in Evergreen allow you to customize how the staff client behaves on your specific computer and browser. These settings affect search defaults, audio alerts, and display preferences.
|
Workstation settings are saved locally to your browser through cookies and workstation combination. Different workstations can have different settings, even when using the same login credentials. |
| If you clear your browser cookies, all of your workstation settings can be lost. Please mindful that cookies are not selected when clearing your browser cache. |
Accessing Workstation Settings
To access workstation configuration options:
-
Log in to the Evergreen staff client
-
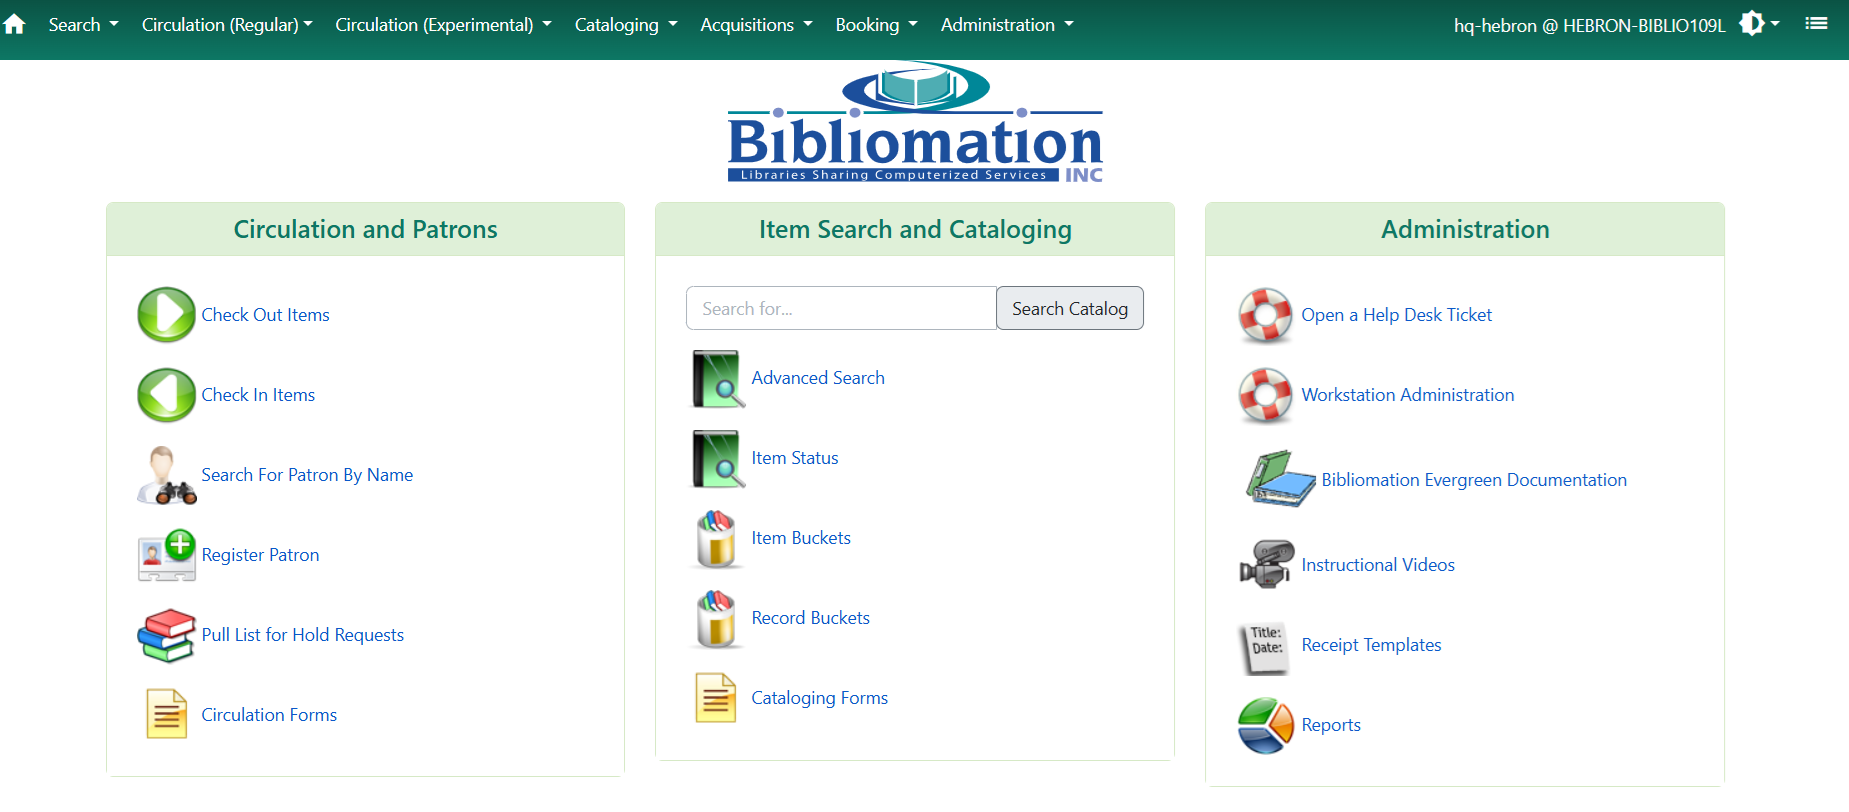
Navigate to Administration → Workstation
-
The Workstation Settings page displays all available configuration options

Setting Search Defaults
Search defaults determine which libraries and search interfaces appear by default when you use Evergreen’s search functions. These settings save time by pre-selecting your most commonly used options.
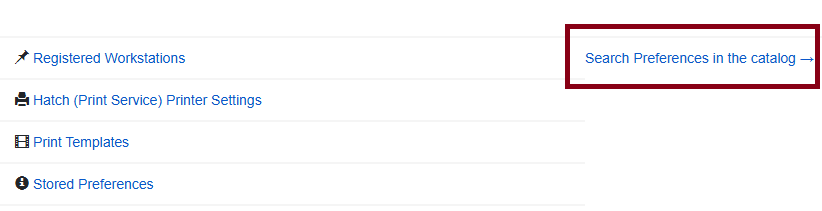
Click Search Preferences in Catalog to bring you to the Search Preferences page of the Staff Catalog.
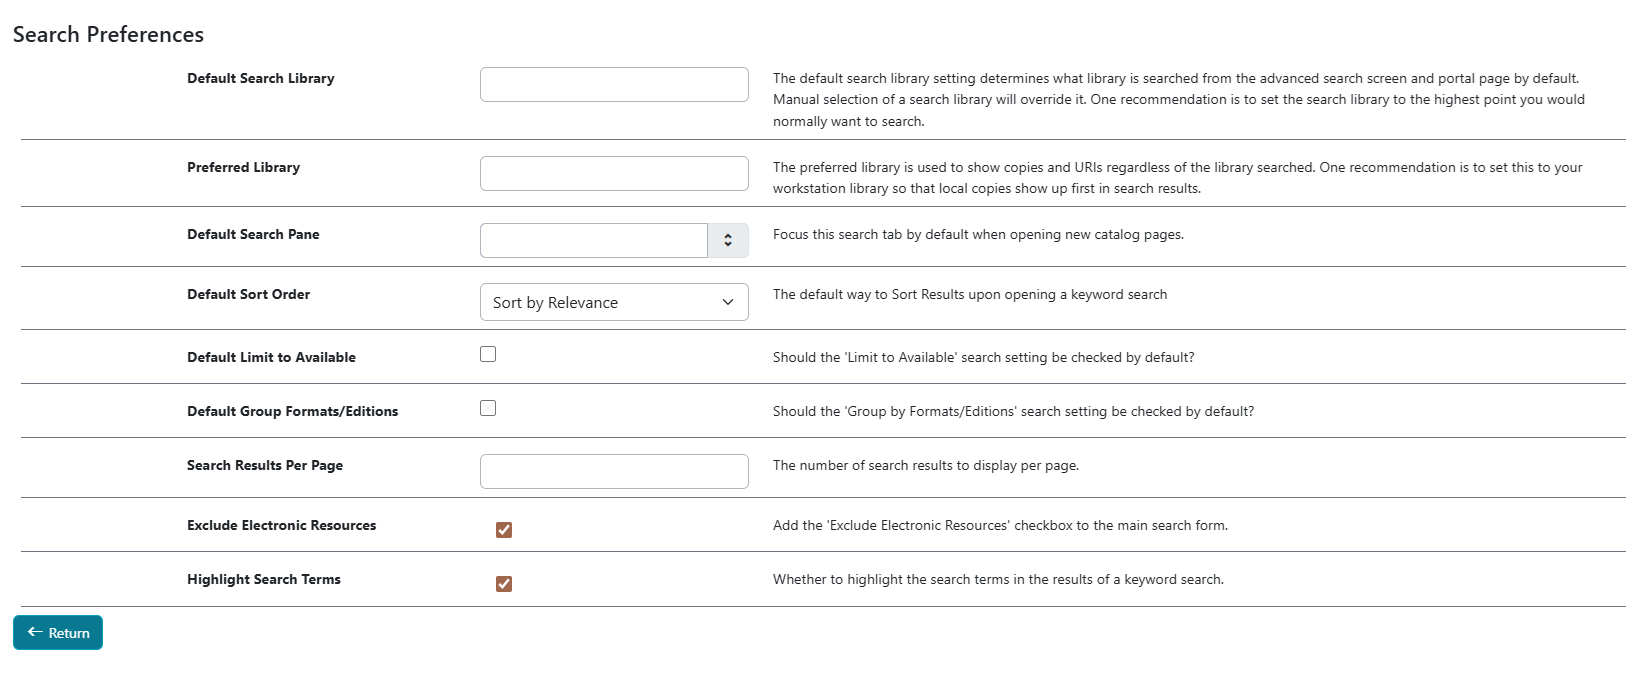
Default Search Library
The Default Search Library determines which library or library system is searched by default from the Advanced Search screen and portal page.
To set your default search library:
-
In Workstation Settings, locate the Default Search Library dropdown
-
Select your preferred default:
-
CONS - Search the entire Bibliomation consortium
-
Your library system - Search only your library system (applicable to librarys with multiple branches)
-
Your specific branch - Search only your library or branch if in a library system
-
-
The setting saves automatically when you make a selection
|
Set your default to the broadest level you typically search. You can always narrow the search scope for individual searches. For example, if you usually search the entire consortium but occasionally limit to your library, set the default to CONS. |
|
This setting also affects cataloging functions. Catalogers should consider their workflow when choosing a default. |
Preferred Library
The Preferred Library setting controls which library’s holdings display first in search results, regardless of the search scope.
To set your preferred library:
-
Locate the Preferred Library dropdown in Workstation Settings
-
Select your library from the list
-
The setting saves automatically
| Setting | Result |
|---|---|
Your home library |
Your library’s copies appear first in search results, making it easier to see local availability |
Another library |
That library’s copies appear first (useful for reciprocal borrowing arrangements) |
Consortium level |
No preference; copies display in the default order |
Configuring Sound Alerts
Evergreen can play sound alerts for various events like successful checkouts, holds captures, and errors. You can test these sounds and disable them if desired.
Testing Sounds
To test the different sound alerts:
-
In Workstation Settings, locate the Sounds section
-
Click the Test button next to each sound type:
-
Success - Plays for successful operations
-
Info - Plays for informational messages
-
Warning - Plays for warnings
-
Error - Plays for error conditions
-
-
Adjust your computer’s volume as needed

Disabling Sounds
To turn off all sound alerts:
-
Check the box labeled Disable Sounds?
-
The setting saves automatically
-
All audio alerts will be suppressed until you uncheck this box
|
If sounds are disruptive in your work environment but you still want notifications, consider using visual alerts only by disabling sounds. |
Display Preferences
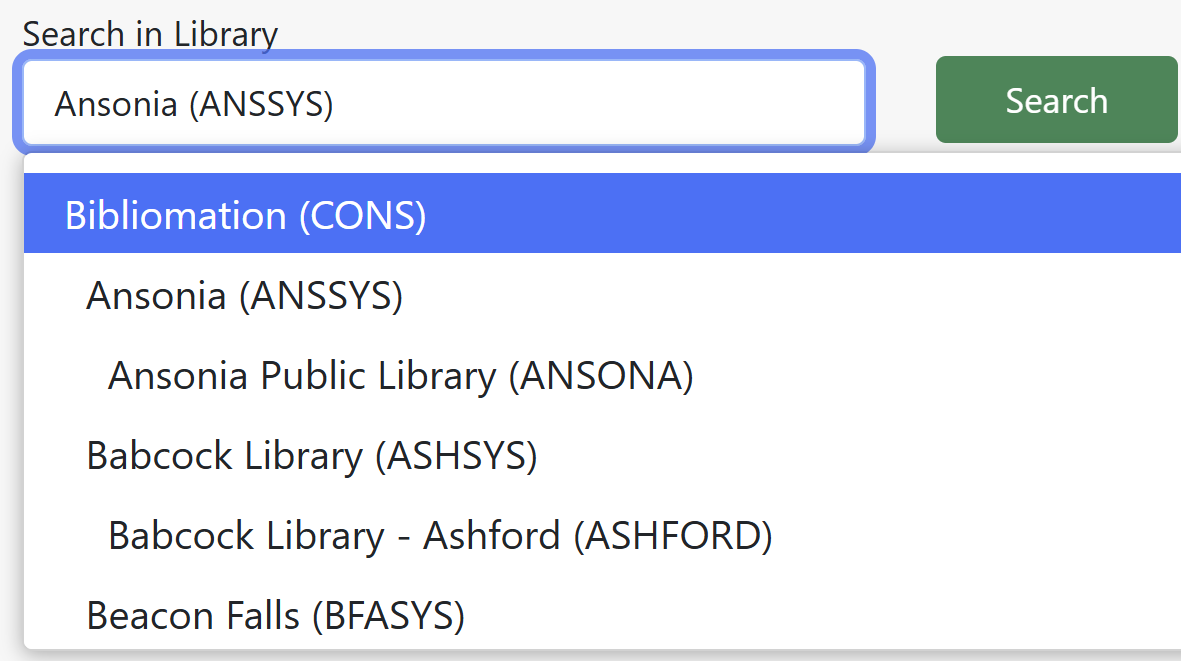
Showing Full Library Names
By default, Evergreen displays library codes (shortcodes) in dropdown menus. You can change this to show full library names for better clarity.
To enable full library names:
-
In Workstation Settings, locate the display preferences section
-
Check Library Selector Shows Combined Names?
-
The change takes effect immediately for new windows
| Setting | Display | Example |
|---|---|---|
Unchecked |
Short code only |
ANSONA |
Checked |
Combined name |
Ansonia Public Library (ANSONA) |
|
This setting only affects dropdown menus and selectors. Library names in grids, lists, and detailed displays are not affected. |
|
You may need to refresh your browser or log out and back in for this change to apply to all interfaces. |
Dark/Light Mode
A dropdown menu will now allow you to view Evergreen in light or dark mode.
Click the sun icon in the upper-right hand corner of the screen next to your username and workstation.

By default Evergreen will use Auto to match your computer’s Windows settings, but you can switch to Dark to reverse the staff client to a dark background and light colored text.
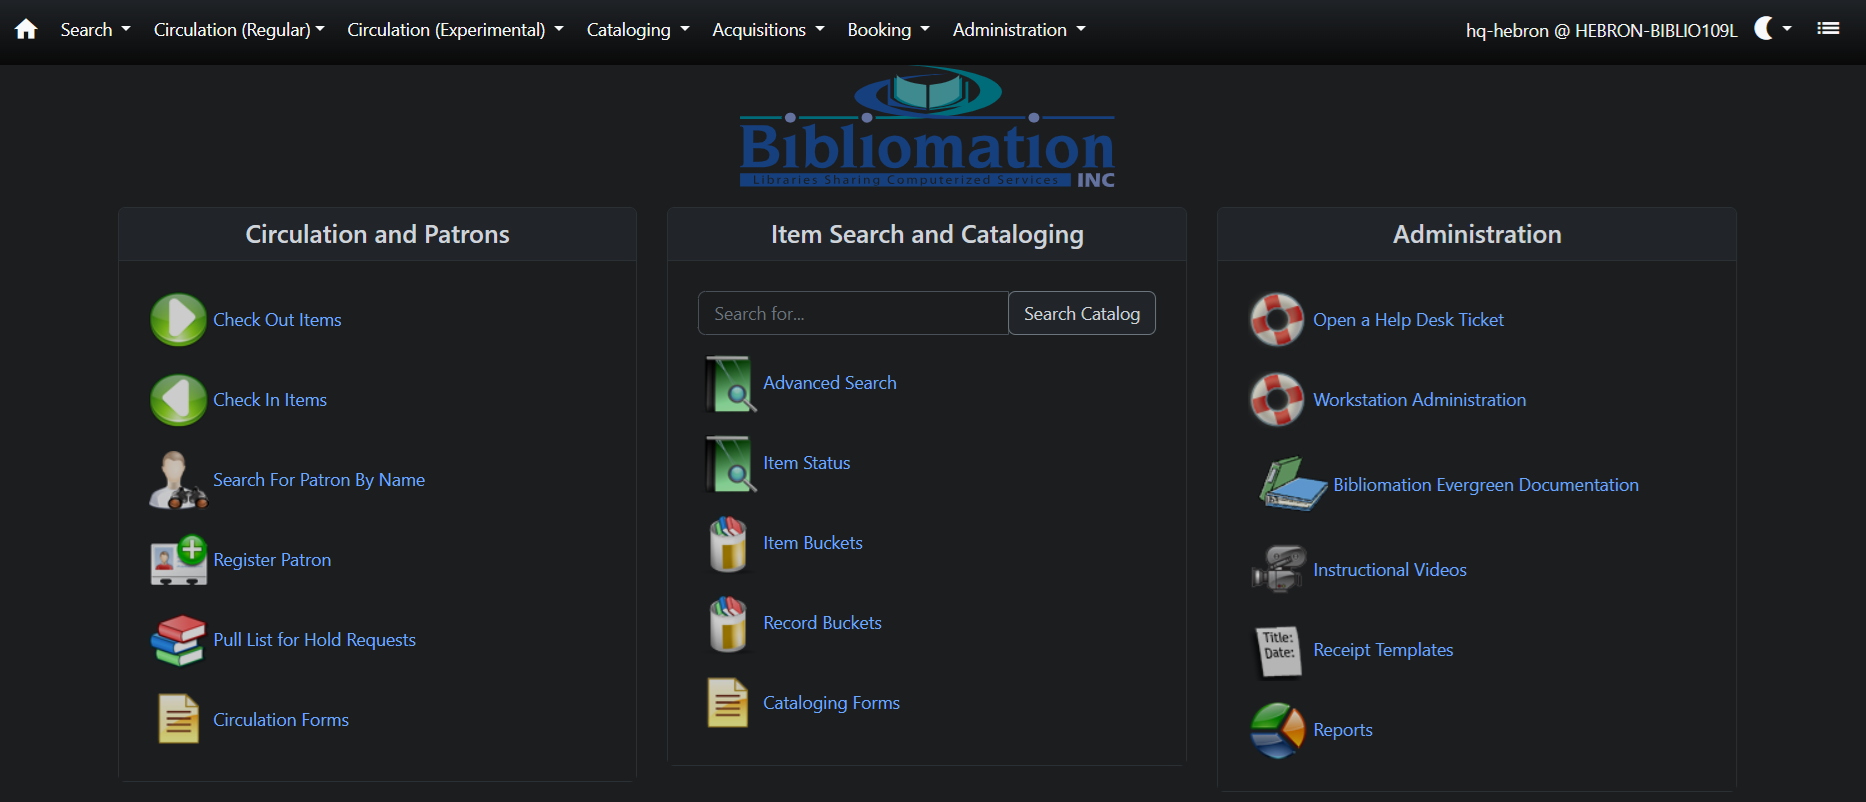
The icon will turn into a moon once Dark is select. Light will bring the client to the usual light mode.
Column Settings
While not in the main Workstation Settings page, you can also configure column displays for various grids throughout Evergreen:
Saving Column Configurations
When viewing any grid (like check-out lists, holds lists, or patron searches):
-
Right-click on any column header
-
Select Manage Columns from the context menu
-
Check/uncheck columns to show/hide them
-
Drag columns to reorder them
-
Click Save to preserve your configuration
These column settings are saved per workstation and persist between sessions.
Settings That Require Re-login
Some workstation settings may require you to log out and log back in to take full effect:
-
Library name display preferences
-
Some default search settings
-
Language preferences (if available)
When in doubt, save your work and perform a fresh login to ensure all settings are applied.
Best Practices
To optimize your workstation configuration:
| Practice | Benefit |
|---|---|
Set search defaults to your most common scope |
Reduces clicks and speeds up daily workflows |
Configure sounds based on your environment |
Maintains appropriate noise levels while keeping useful alerts |
Use full library names if you work with multiple branches |
Reduces confusion when selecting libraries |
Customize column displays for your role |
Shows only the information you need for your specific tasks |
Troubleshooting Settings Issues
| Problem | Solution |
|---|---|
Settings don’t save |
Clear browser cache and cookies, then reconfigure |
Sounds don’t play |
Check computer volume, browser permissions, and sound card settings |
Search defaults not applying |
Log out and back in, or try a different browser |
Column configurations lost |
Settings are per-workstation; register and configure each workstation separately |
Library names not showing correctly |
Refresh the browser window or restart the session |
You’re required to register a workstation every time you log in and you haven’t cleared browser cookies. |
Click here to check On-Device Site Data settings. Make sure that Delete data sites that have been saved to your device when you close all windows is unselected. Next in your Chrome settings, locate and click on Performance, from the menu on the left side, or type "Memory Saver" into the Search Settings bar on top. Make sure the setting is also turned off. Then type in "Energy Saver" to the Search Settings bar on top. Make sure the setting is turned off. |
Related Configuration
For additional customization options, see:
-
Printing Setup - Configure receipt printers and print templates
Next Steps
After configuring your workstation settings:
-
Complete browser setup for optimal performance
-
Review login procedures for security best practices
-
Start using circulation functions with your customized settings