My Lists
These lists are saved items in the catalog that you create and can optionally share. You can create a temporary list without being logged into your account. However, it is recommended that you log into your account prior to adding items to My List to access all of the features.
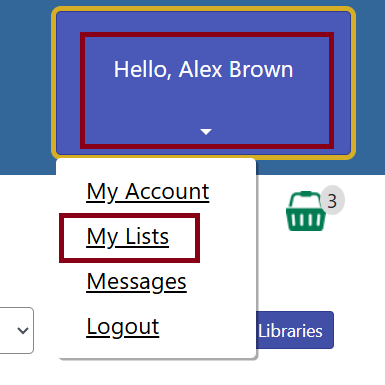
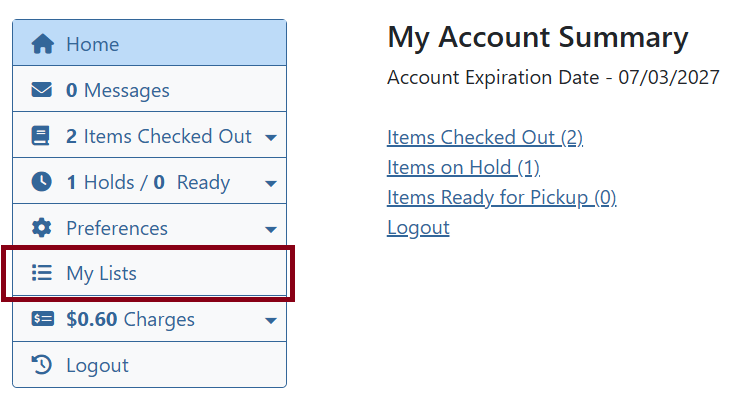
Once you are logged into your account, click on My Lists, either in the top right corner of the screen or the last tab in My Account.
Creating a List
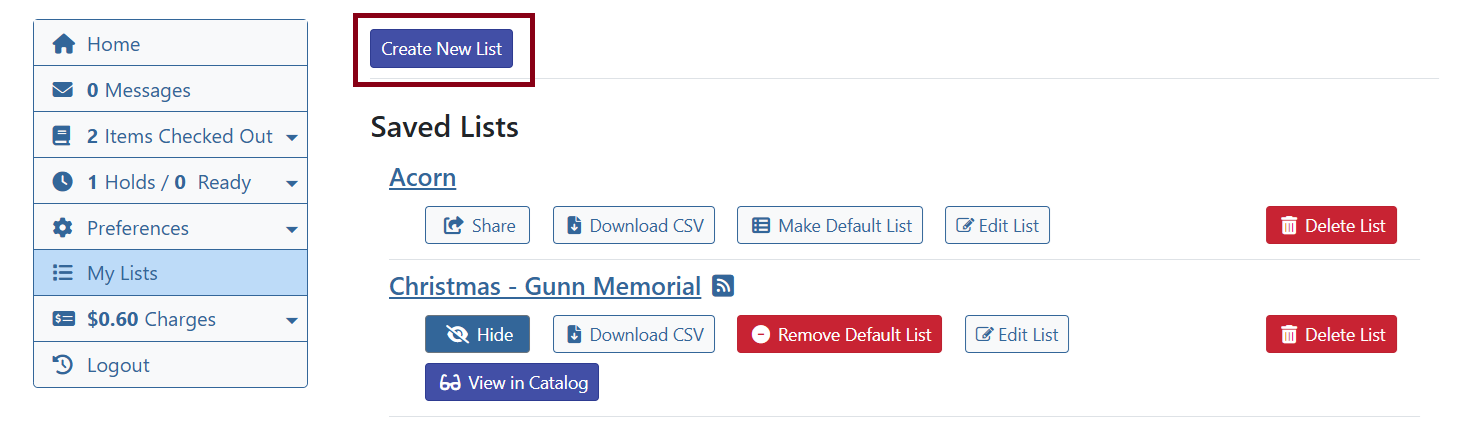
Click Create New List.
Enter the name of your list. If you want to share your list, select Yes from the drop-down menu after Share this list?. You can also enter a description for your list if you would like.
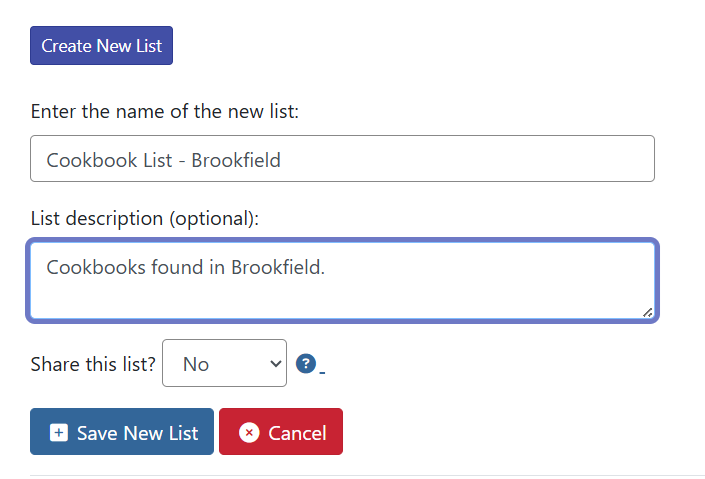
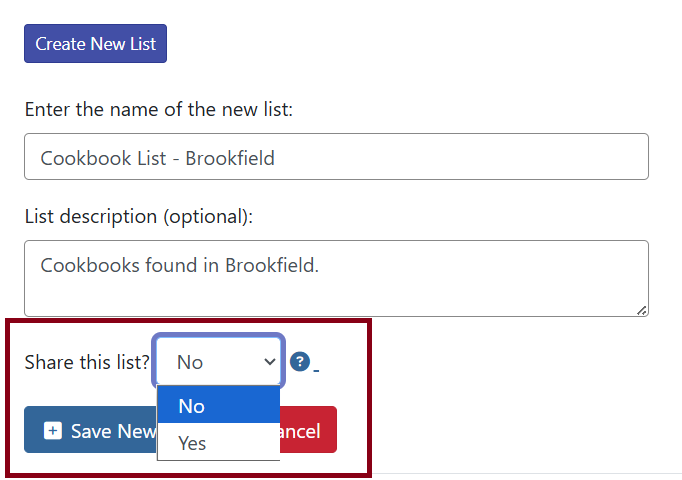
Once you are satisfied with your new list, click “Submit.”
Adding Items to List
Search the catalog for items to add to your list. When you have found an item you would like to add, click on Add to My List.
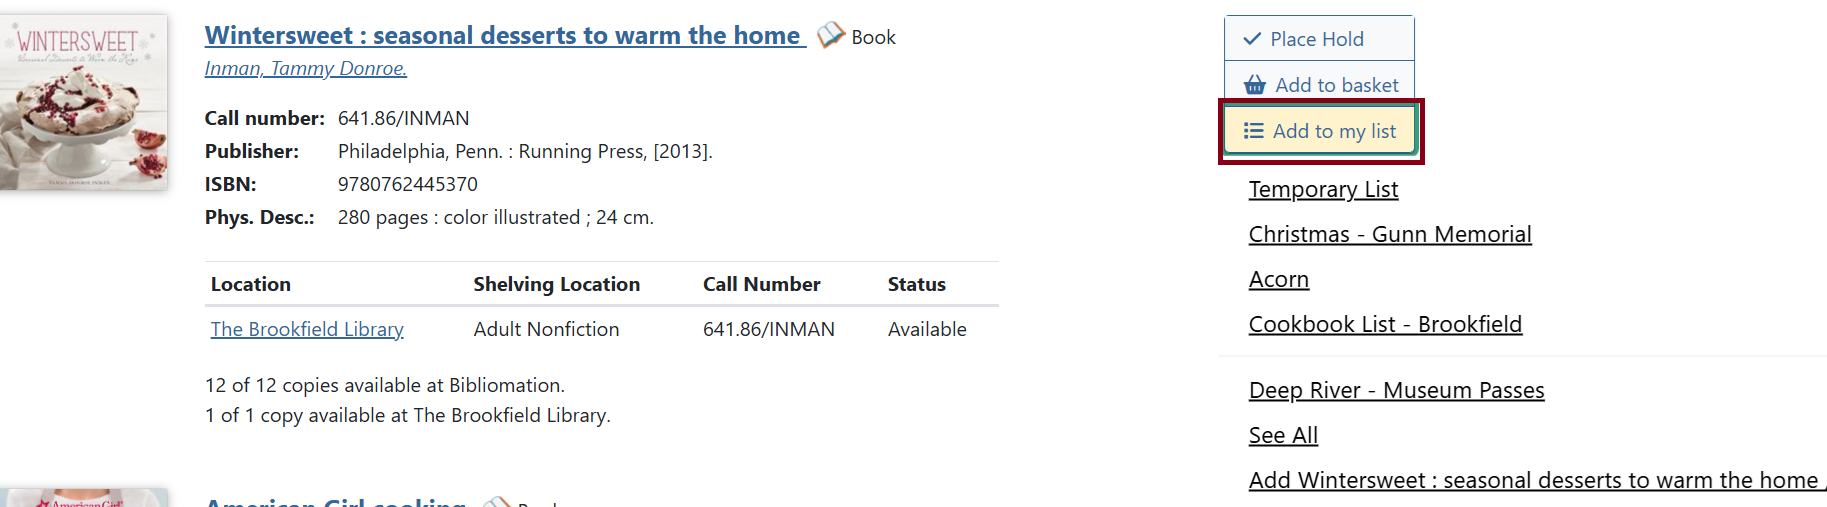
A menu showing your Temporary List and the names of your first few saved lists will appear. Click on the name of the list where you would like to save the item. If the list you want to save it to does not appear in the menu, choose See All. Then click the Add to this list for the appropriate list.
You can also create a new list to which the item can be added. Click on Add [Search Result Title] and create a list as described under Creating a New List. The item will be added to the new list after you click after you fill out the new list form and Submit.
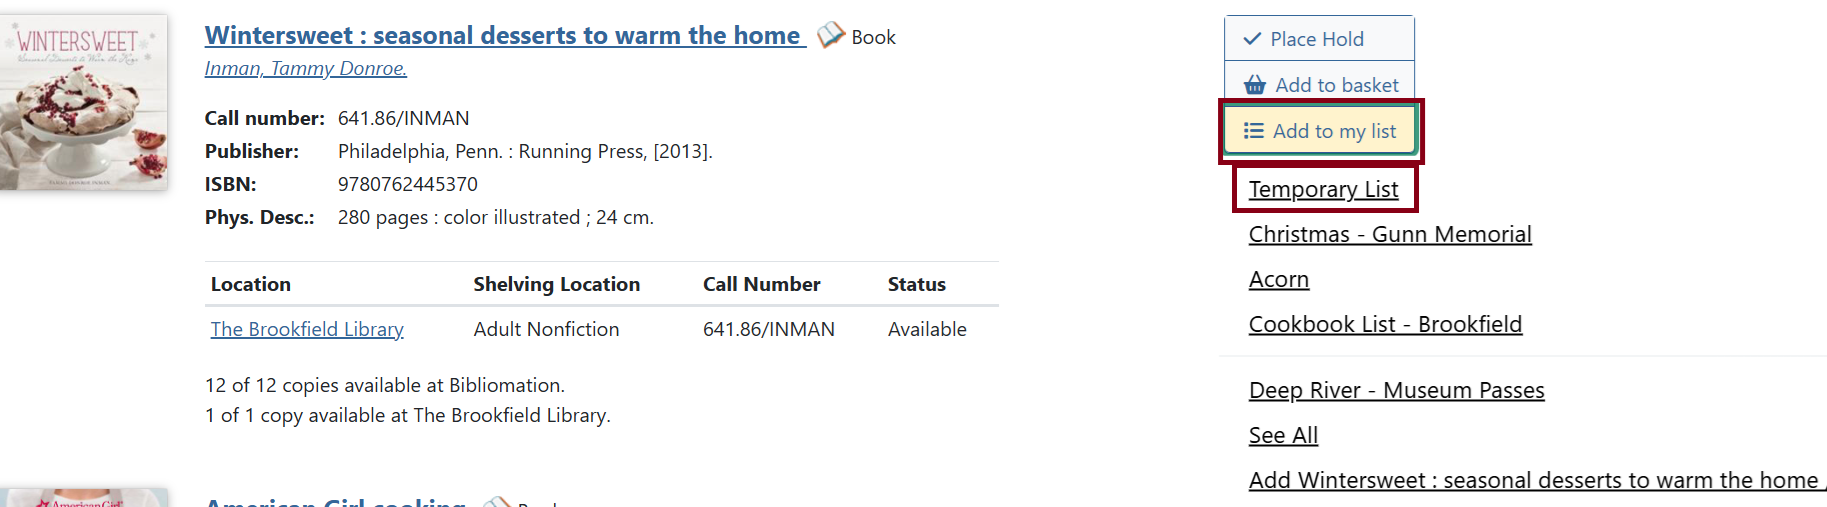
Temporary List
If you click Add to My List for any item before you are logged in, that item will be added to your temporary list. To move items from your temporary list to a saved list, check the box next to the item(s) you want to move, then under Actions for these items, choose a list for the items. Then, click Go. The items will be removed from your temporary list and will now appear on the list you chose.

| The Temporary List view will look much like a basket. |
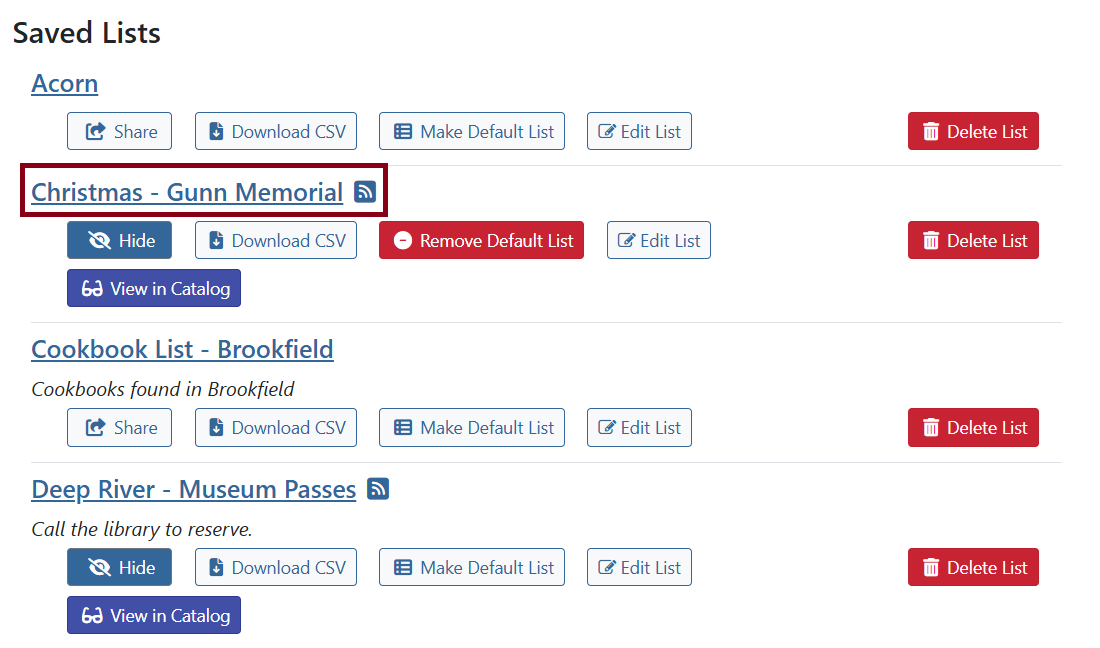
Saved Lists
Any existing list you have is also a Saved List. To view the contents of a saved list, click on its name.
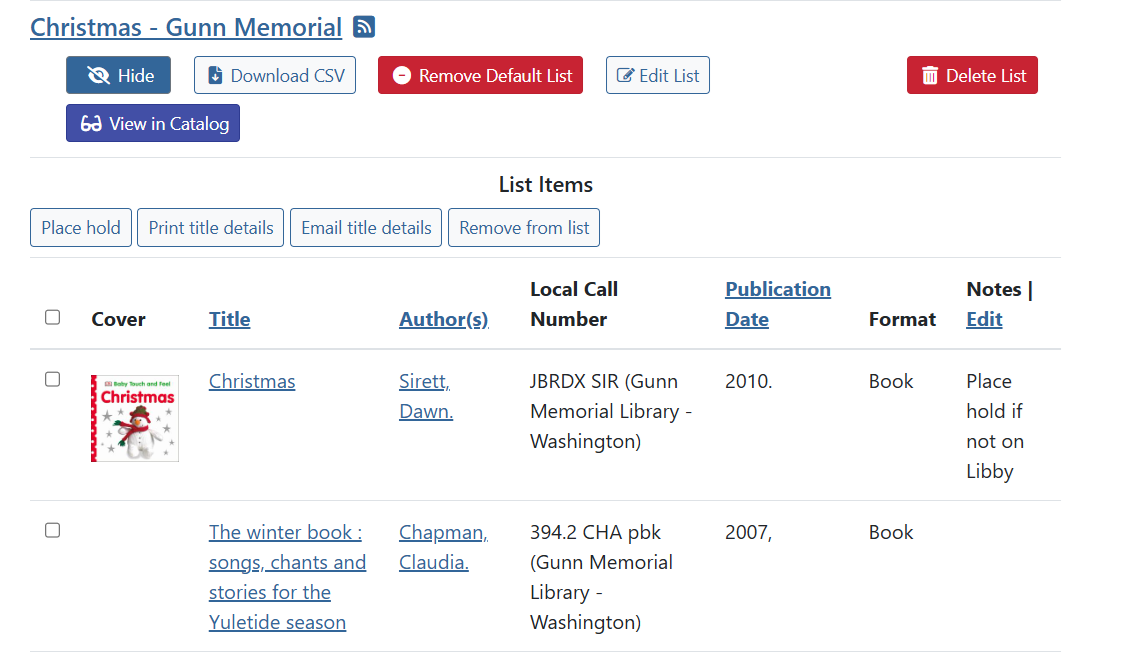
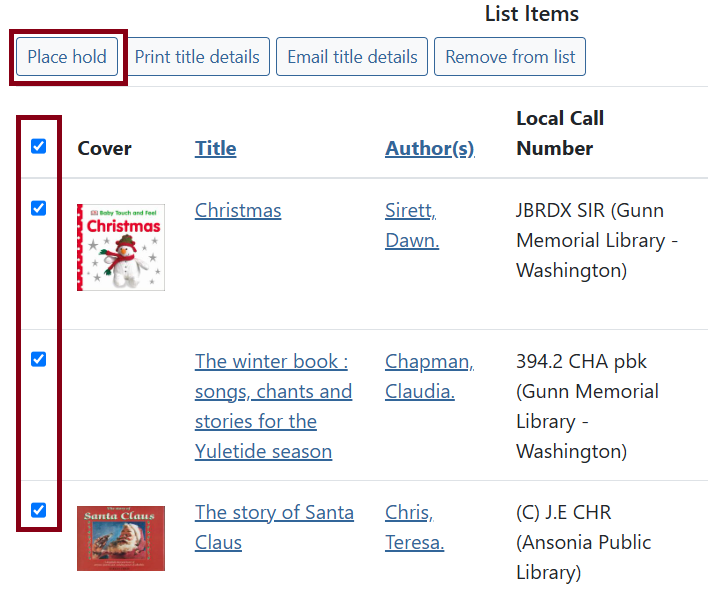
To place holds on items in the list, check the box next to the item, choose Place hold option.
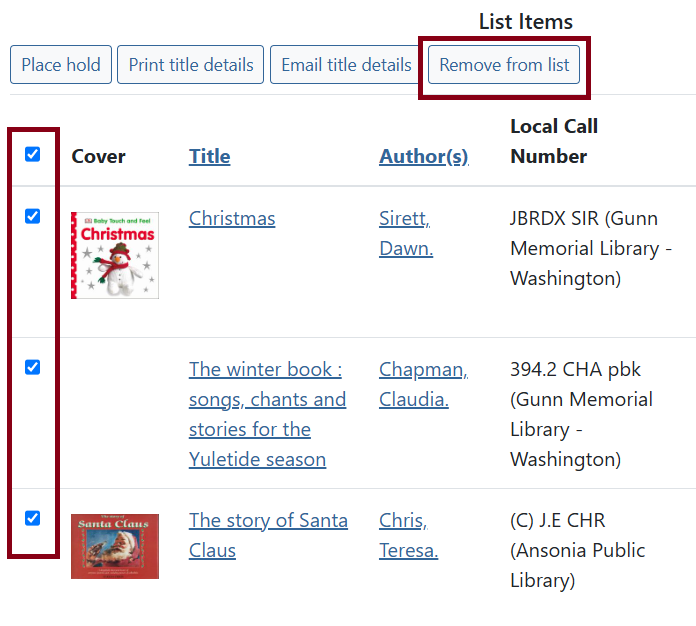
To remove items from the list, choose Remove from list option.
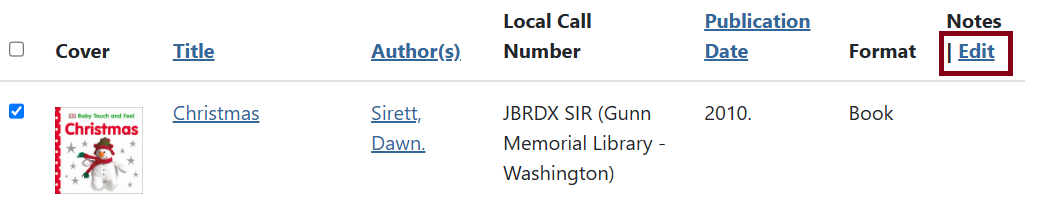
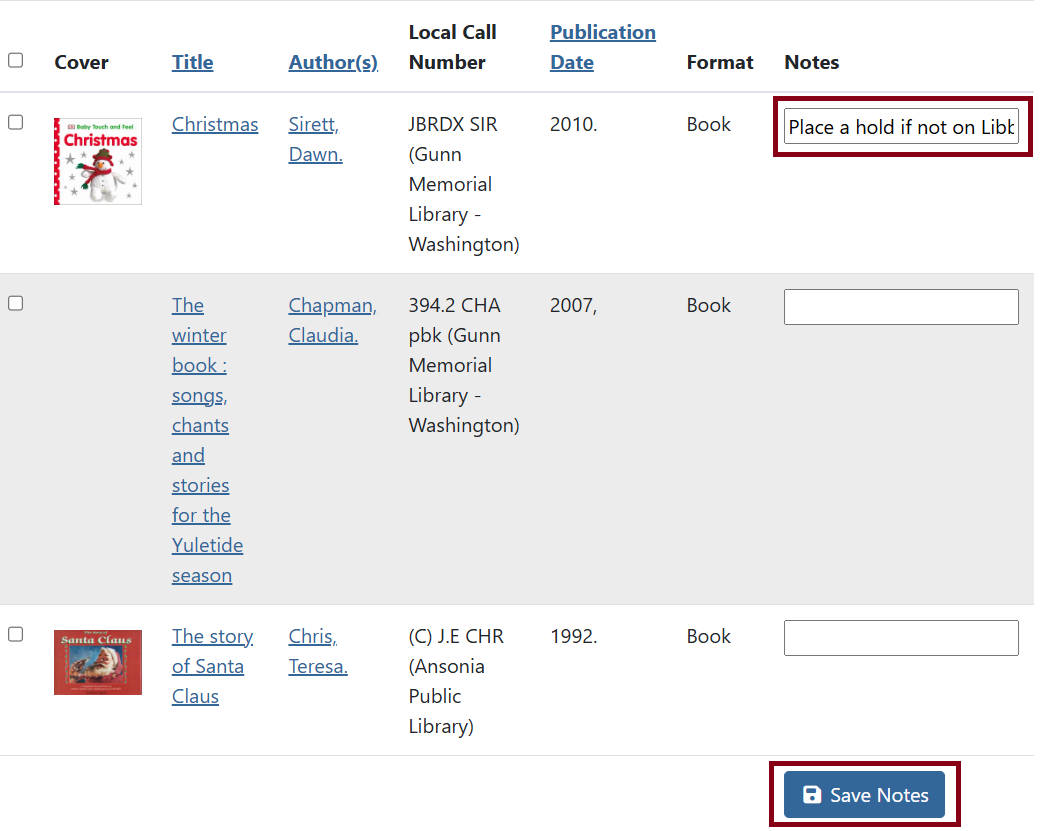
To add a note to an item on the list, click on Edit next to Notes. Text boxes will appear under this column.

Sharing Lists
Sharing a list allows you to share the web address (URL) of a list with friends, family, visitors to your website, or social media followers. The list is not public unless you share the address (URL). You can share your list by choosing Yes next to Share this list? when the list is created, or you can share the list later by clicking Share.

Once the list is shared, you will see an RSS feed icon and a View in Catalog button.

To share your list, click on the RSS icon. This will give you a preview of what your shared list will look like to the people you share it with in HTML.
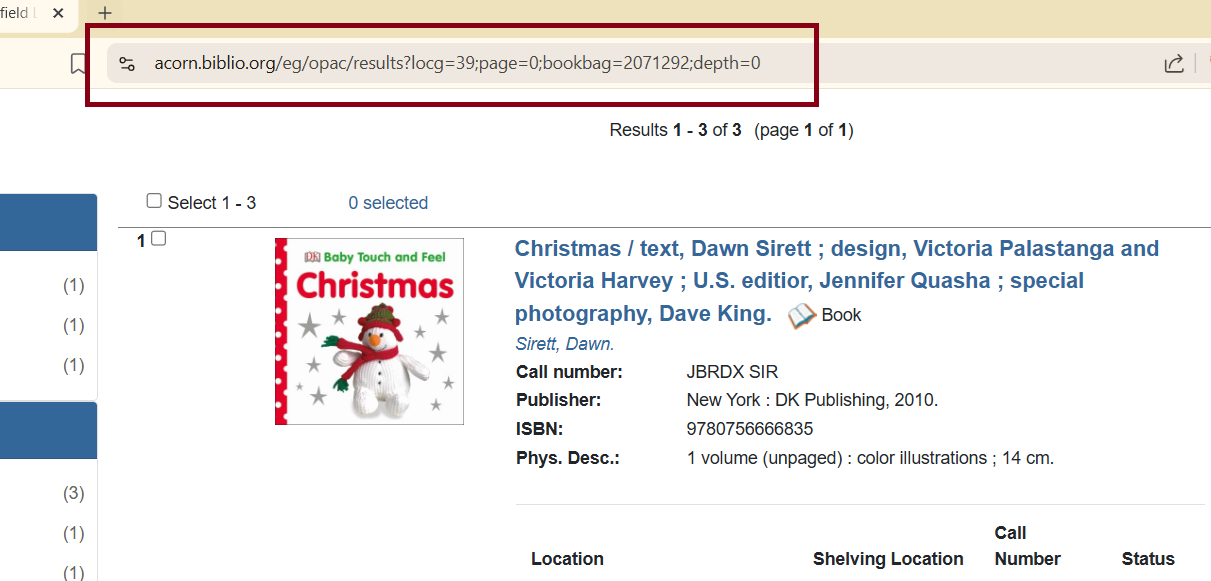
You can also click on View in Catalog, copy the link in the address bar once the itemized list is loaded, and share the link wherever you want.
If you decide later that you no longer want to share your list, you can click “Hide” to make the list private.
Other Options
-
Clicking Delete List will remove the list from your account. Lists cannot be retrieved after they are deleted.

-
Clicking Download CSV will download your list as a file that can be opened with spreadsheet software, such as Microsoft Excel. The file will include the title, author, publication date, item type, and notes that you have added for each item in the list.

-
Click Make Default List to force a list to show as the first choice in the Add to My List menu. You may only have one default list at a time. Clicking on Remove Default List deselects the list, and you will no longer have a default.

