Closed Dates Editor
Overview
The Closed Dates Editor allows library staff to manage the dates when their library is closed. Setting closed dates in Evergreen affects:
-
Due dates for checked-out materials
-
Fine calculations
-
Hold request processing
-
Various system-generated notices
| Bibliomation distributes a standard holiday listing in the fall of each year, along with instructions for libraries to add any additional closed dates specific to their location. |
Accessing the Closed Dates Editor
-
Navigate to Administration > Local Administration.
-
Select Closed Dates Editor from the menu options.

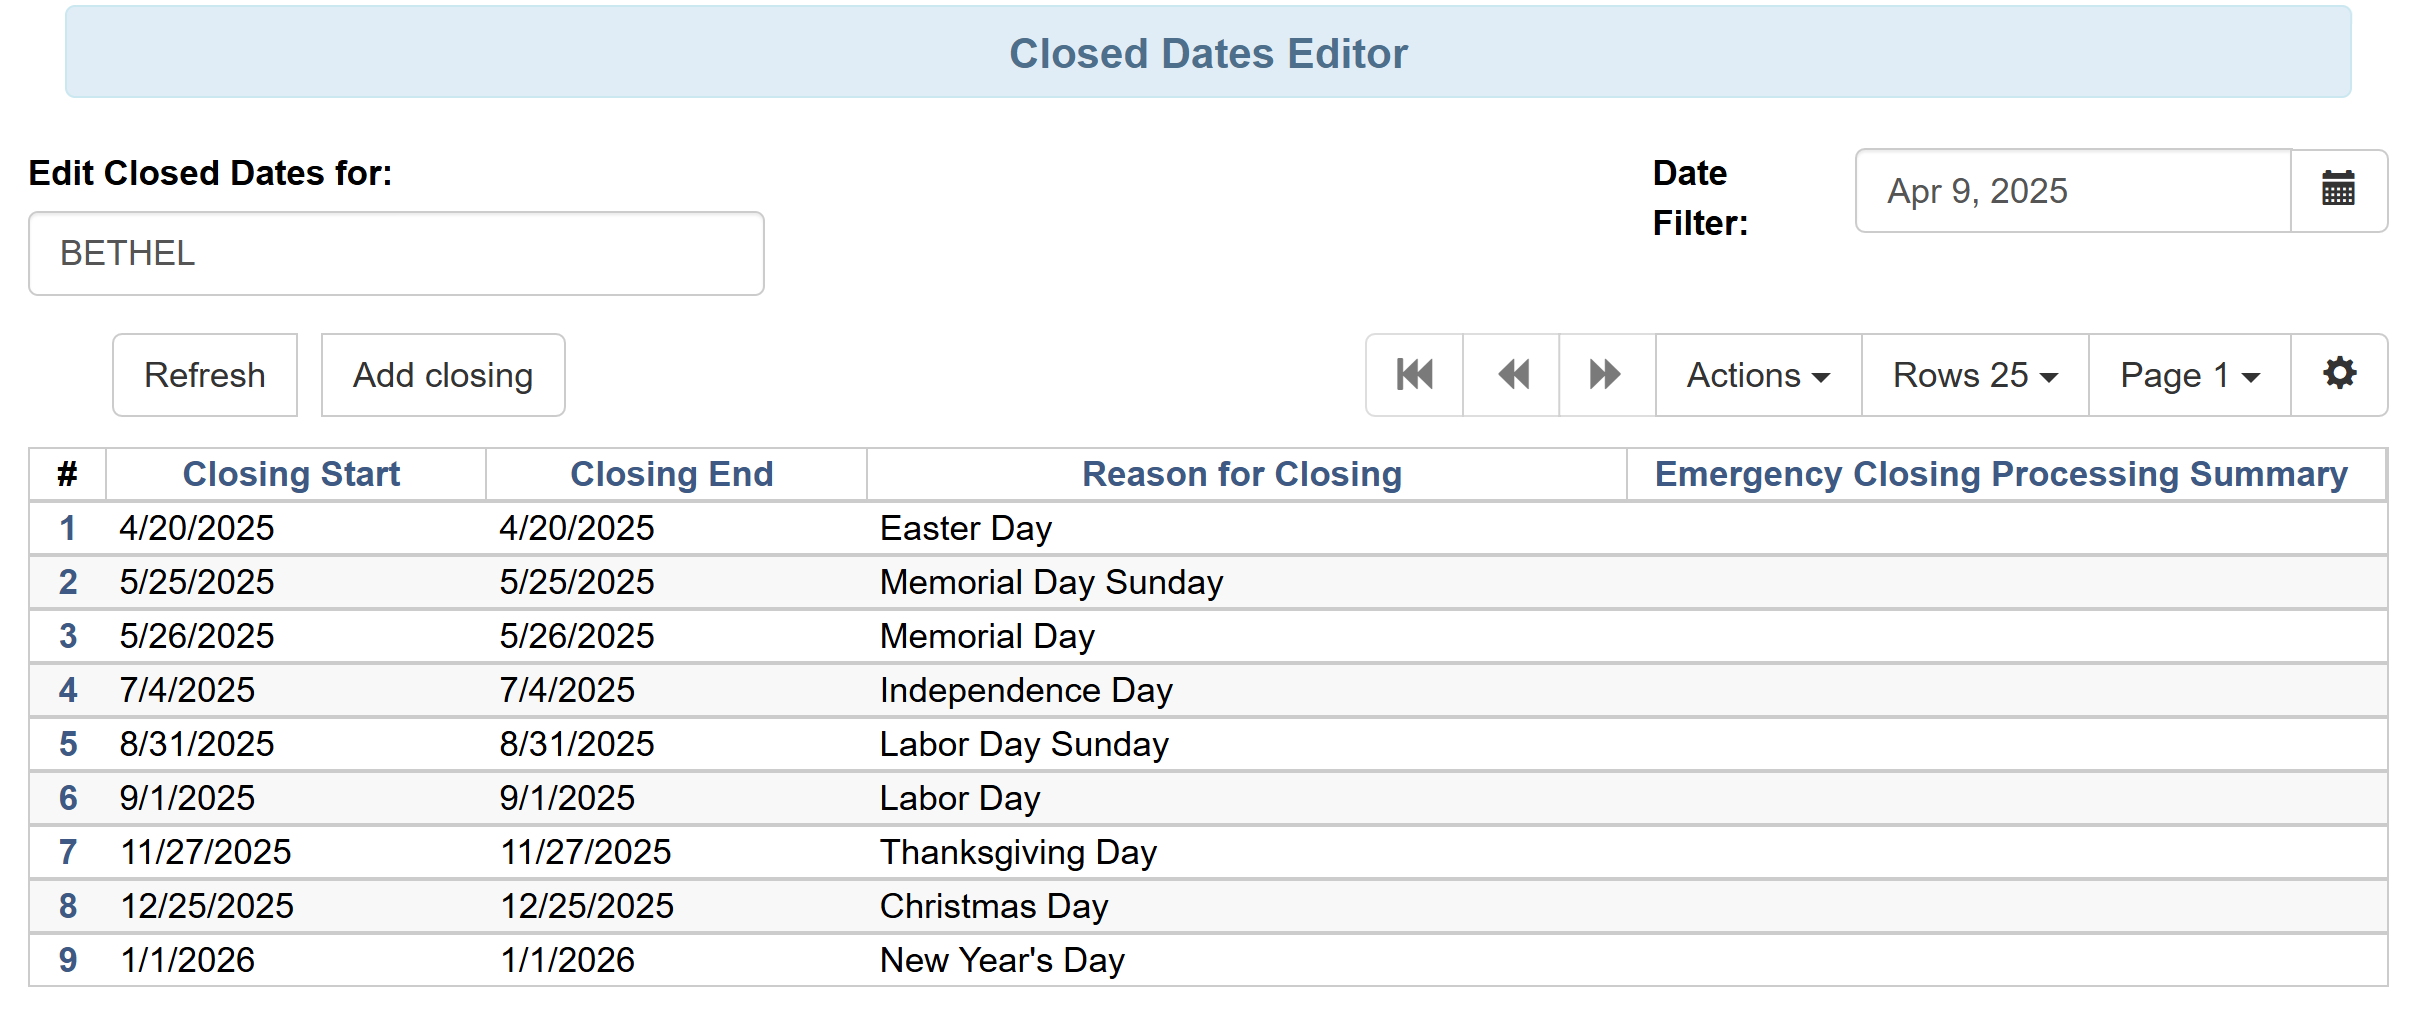
Viewing Current Closed Dates
When you open the Closed Dates Editor, the current listing of closed dates for your library will display. This list may include past closed dates.
Adding a Single Closed Date
-
Click Add Closing.
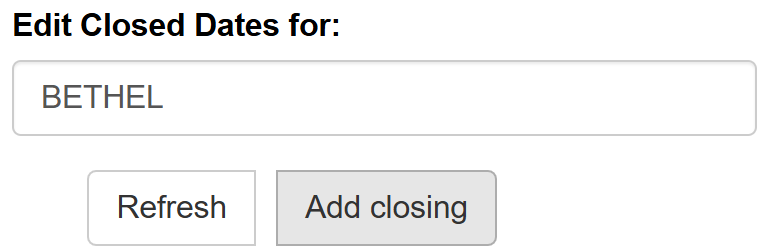 Figure 3. Add Closing Button
 -
From the dropdown menu, select One Full Day.
-
Enter the date either by typing in the YYYY-MM-DD format or by selecting from the calendar picker.
-
Enter a reason for the closure (optional but recommended).
-
If this is a sudden or emergency closure:
-
Check the Emergency box
-
Check the Process Immediately box
For planned closures in the future, you don’t need to use the Emergency or Process Immediately options. 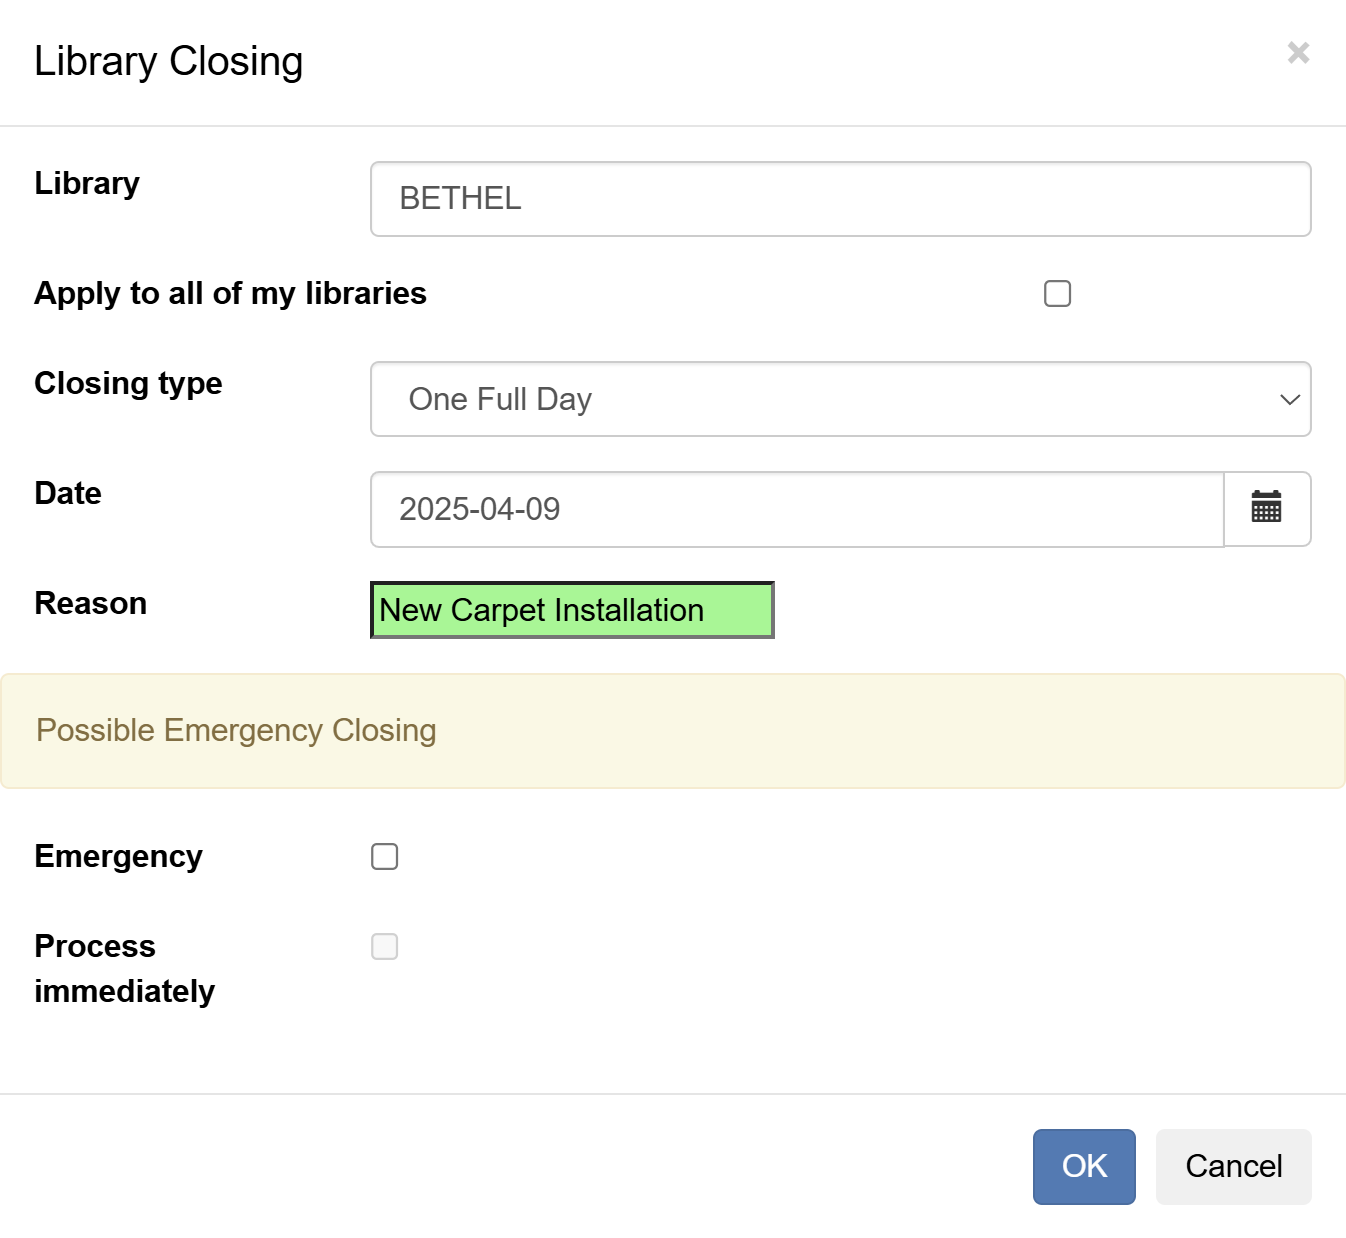 Figure 4. Single Day Closure Form
-
-
Click OK when done.
Adding Multiple Closed Dates
-
Click Add Closing.
-
From the dropdown menu, select Multiple Days.
-
Enter the start date and end date either by typing in the YYYY-MM-DD format or by selecting from the calendar picker.
-
Enter a reason for the closure (optional but recommended).
-
For emergency closures, check both the Emergency and Process Immediately boxes.
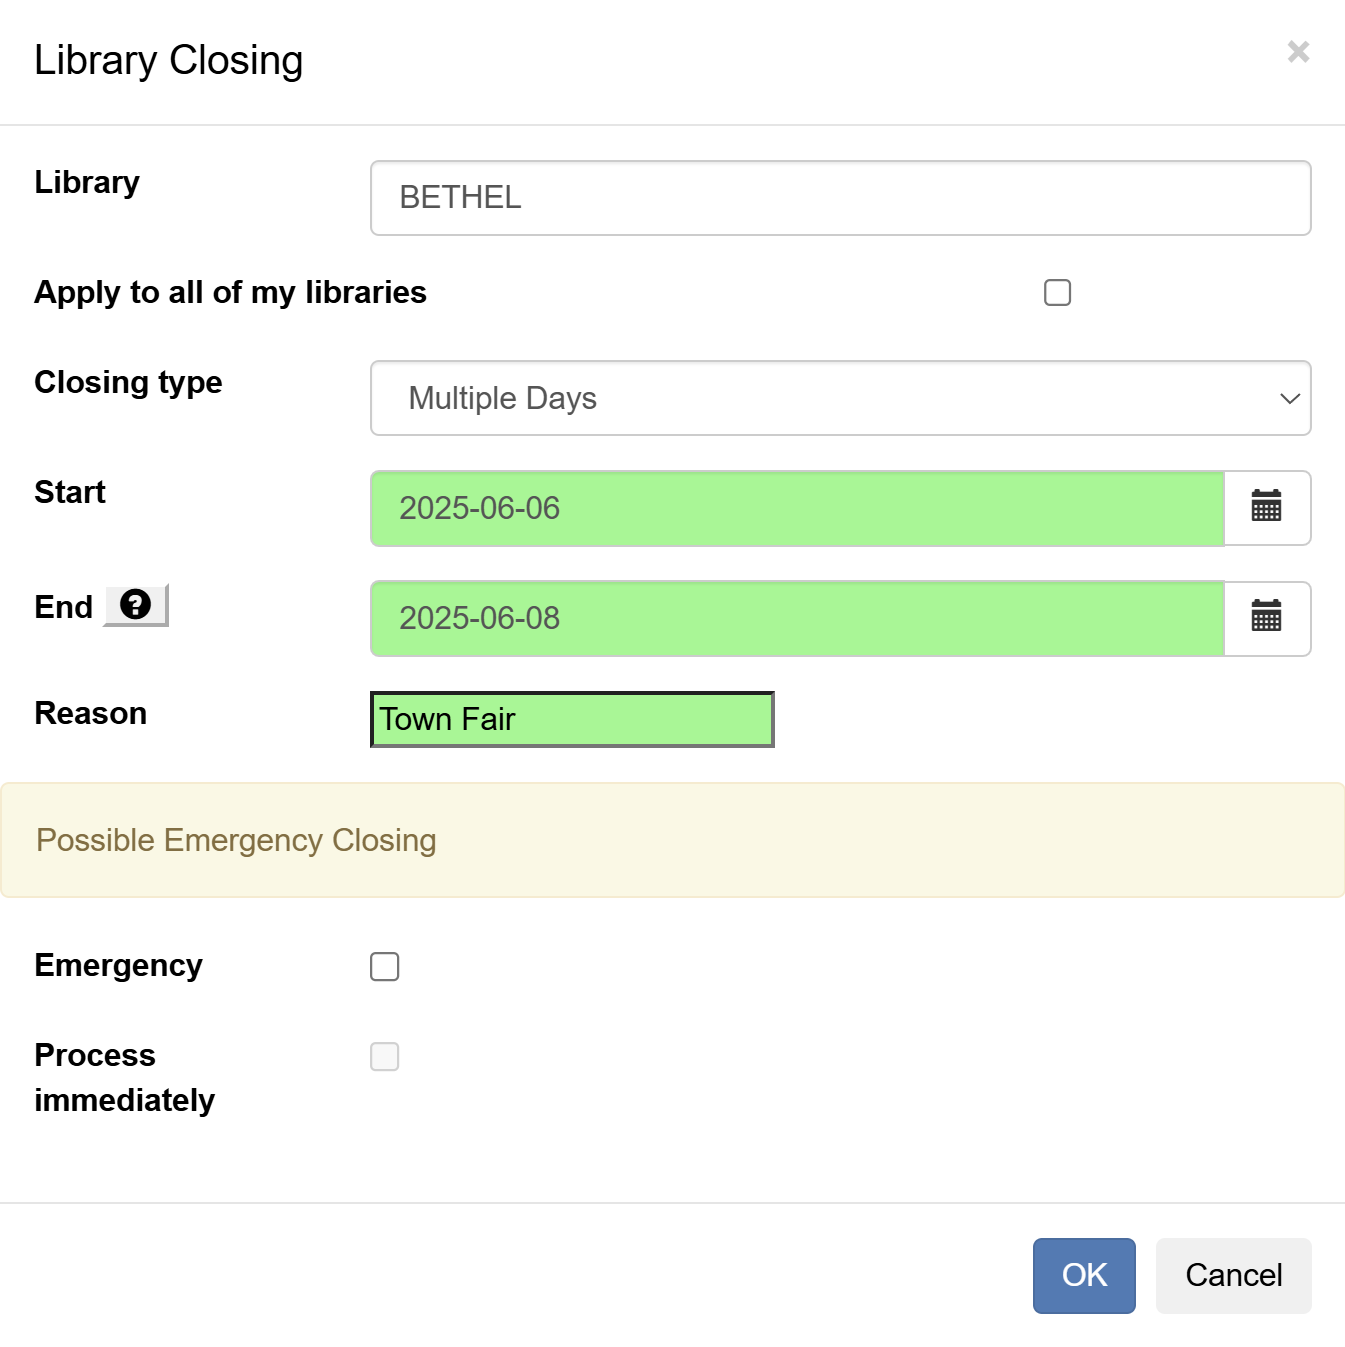 Figure 5. Multiple Day Closure Form
 -
Click OK when done.
Editing a Closed Date
| For best practice, only edit or delete upcoming dates. Deleting or editing past dates may affect fine calculations and could cause unexpected results. |
-
Locate the closed date you want to edit in the list.
-
Right-click on the corresponding line and select Edit Closing.
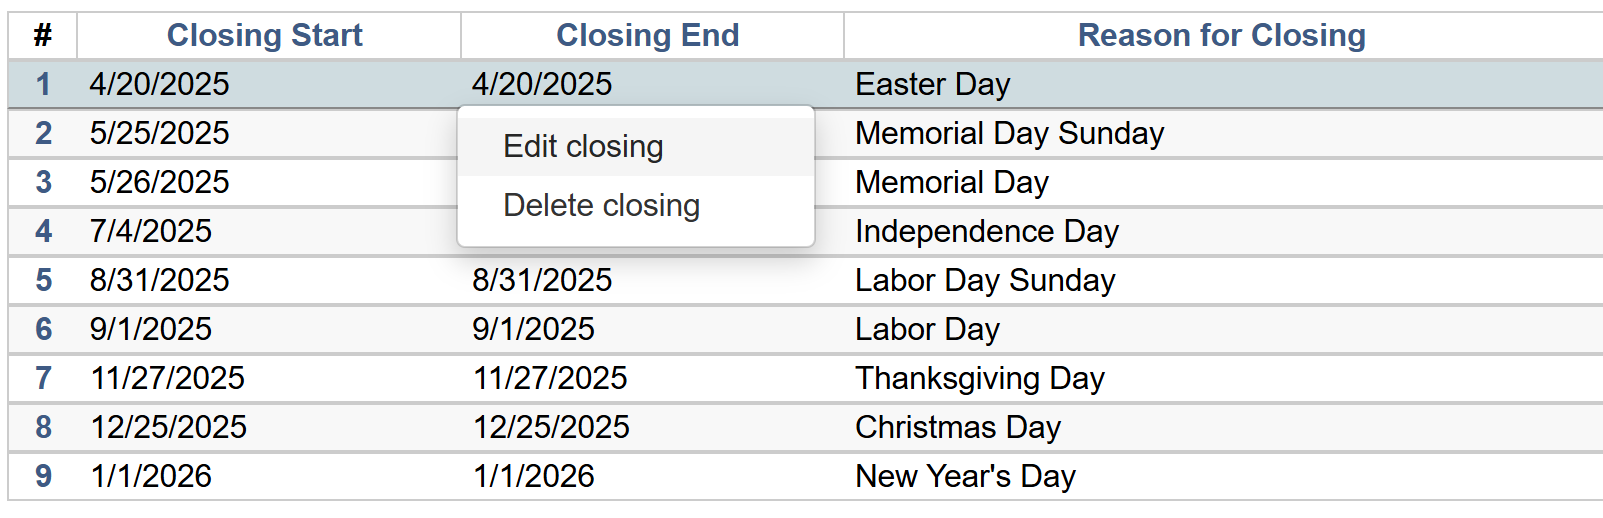 Figure 6. Edit Closing Context Menu
 -
The editing form will appear with the current values.
-
Make your changes as needed.
-
Click OK to save your changes.
Deleting a Closed Date
-
Locate the closed date you want to delete.
-
Right-click on the corresponding line and select Delete Closing from the same context menu shown in the editing section above.
-
A confirmation dialog will appear.
-
Click OK/Continue to confirm the deletion or Cancel to abort.
Best Practices for Managing Closed Dates
-
Enter all planned closures (holidays, staff development days, etc.) at the beginning of the year
-
Add emergency closures (weather events, utility outages, etc.) as soon as they are known
-
Avoid modifying or deleting past closed dates unless absolutely necessary
-
Include descriptive reasons for closures to help with future reference
-
Review your closed dates periodically to ensure accuracy
| If your library has a regular closure pattern (e.g., closed every Sunday), you can work with Bibliomation to establish this as a standard setting rather than entering each date individually. |